Appearance
Interface
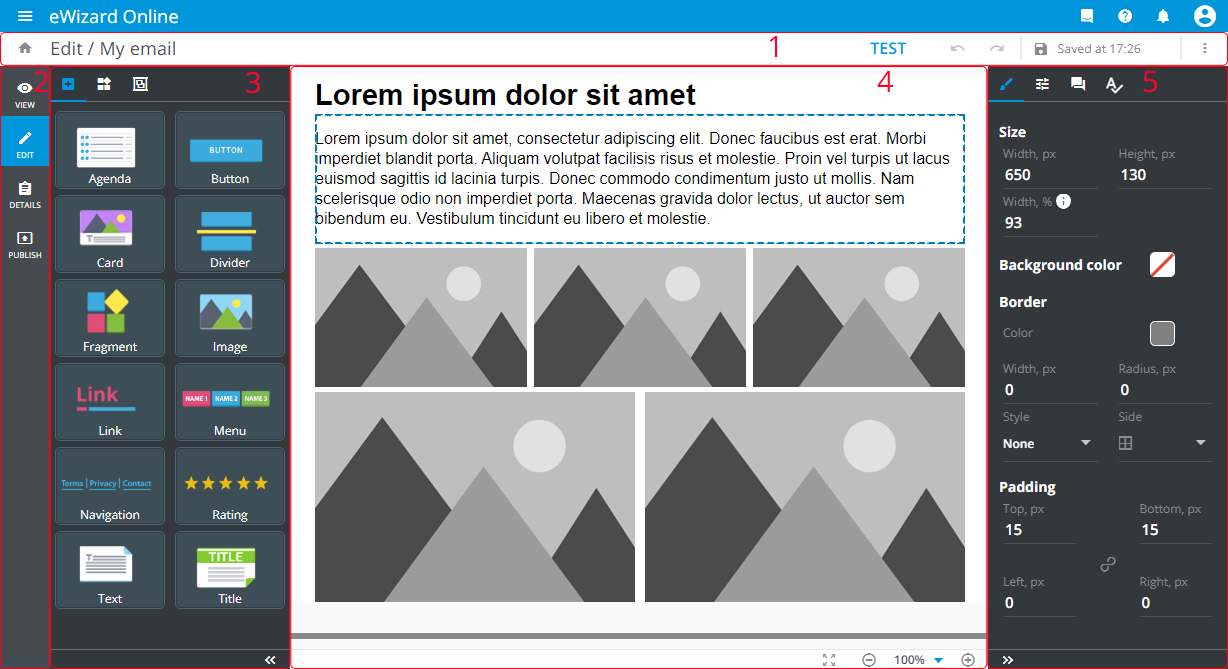
To edit an email, click ![]() on its card. Email Editor that opens comprises the following:
on its card. Email Editor that opens comprises the following:
[1] The top options panel includes the email test features and more options menu.
[2] The navigation bar allows you to VIEW, EDIT (you're here) your email, check its DETAILS, and PUBLISH it.
[3] The elements panel comprises all the elements available for adding to the email.
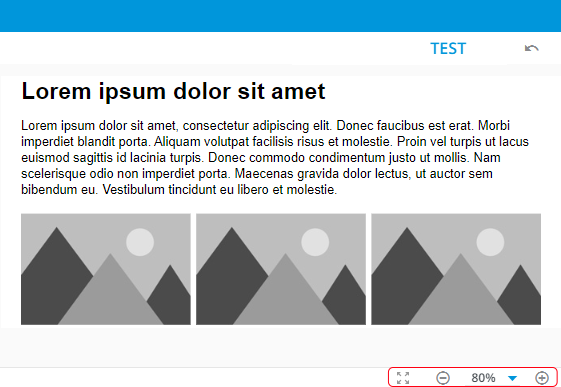
[4] The layout includes the main working area with scaling options.
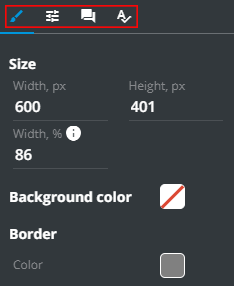
[5] The tools panel allows you to modify settings of the elements added to the email layout.
To go back to My Library, click ![]() .
.
To show or hide panels, use ![]() .
.
Top options panel
| To | Click | Result |
|---|---|---|
| Send a test / simulate your email | TEST | The test version is sent to the addressee / Email is shown as if it's viewed on different devices and email clients |
| Cancel the last action | Undo | The last action is cancelled |
| Redo the last cancelled action | Redo | The last cancelled action is redone |
| Save the current email's appearance | Save changes | All changes are saved; this button is inactive and displays the time of the last save |
| Access the additional options | This menu comprises standard more options |
Once you've clicked TEST on the top options panel, select any of the following:
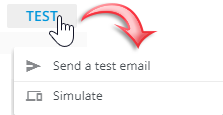
Send a test emailto send the email test version: enter the required address to email the test and clickSEND.
If the email address is out of your company's domain, a warning appears. Make sure the email is correct.
Simulateto preview your email on different devices and in email clients.
Elements panel
It allows for adding elements to the email layout: components [1], blocks [2], and modules [3]:
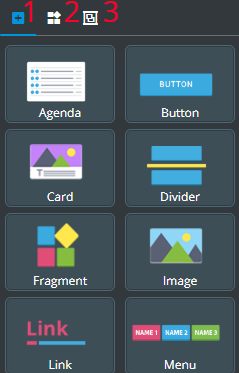
To add the element, just click it on the elements panel.
Layout
The email layout is your main working area. You can add components, blocks and modules to the layout dragging them from the elements panel.
On the layout, you select components to access their properties.
To delete or duplicate the element, right-click it on the layout and select the required option:

To scale the email layout, use the scaling options at the bottom:
Tools panel
This panel contains the following tabs:
| Control | Tab | Action |
|---|---|---|
Styles | Adjust the styles common to all components | |
Properties | Set the properties of the selected component | |
Comments | Comment on the item | |
Acrolinx | Analyze the email texts with Acrolinx |
Comments
To comment on the email, follow the steps below:
- Go to the
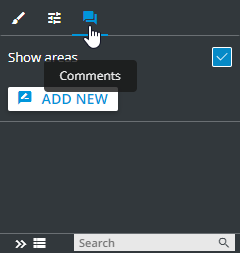
Commentstab on the Editor tools panel:
Click the
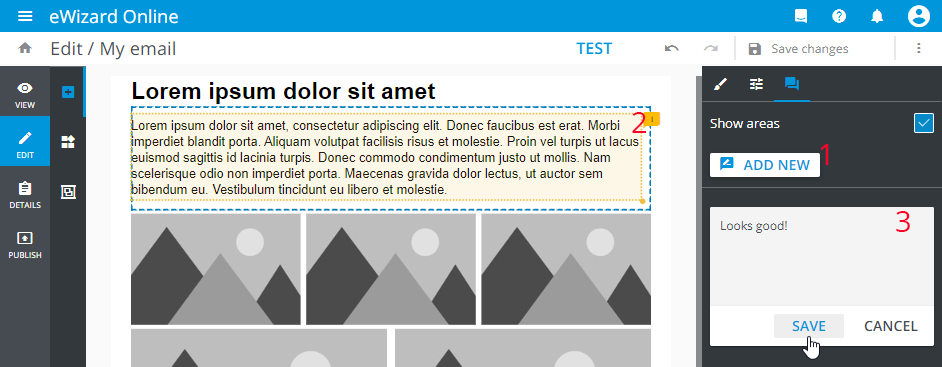
ADD NEWbutton [1].Select the area on the email layout [2].
The Show areas checkbox is activated by default.
Enter the comment text [3].
Click
SAVE:
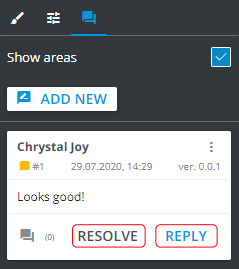
The added comment can be resolved and replied to via the corresponding buttons:
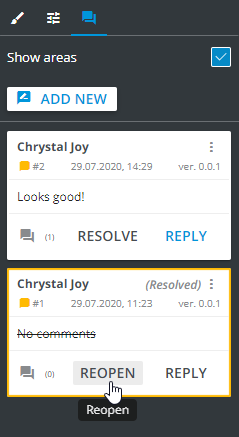
Once the comment is resolved, you can reopen it via the corresponding button, if needed:
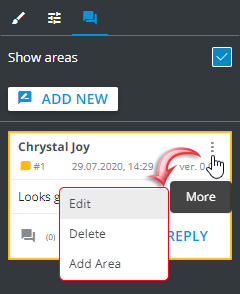
Use the comment more options menu to manage it:
Additionally, you can filter [1] the comments by their status and search [2] for the desired ones by their keywords:
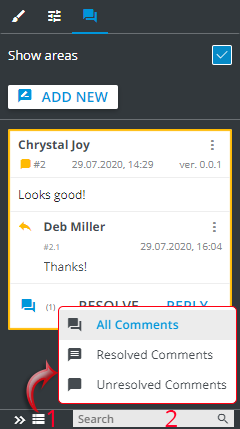
Search works by keywords entered into the Search field. The area that the comment is referred to becomes highlighted once you click the given comment.
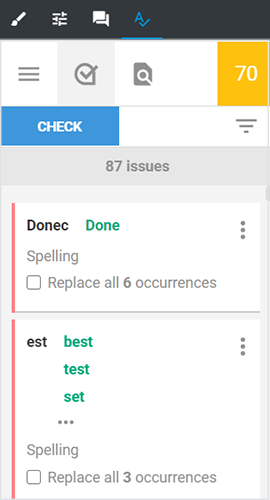
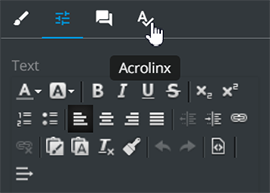
Acrolinx
To align your email to the corporate guidelines, analyze the texts with the Acrolinx service:
- Go to the
Acrolinxtab on the tools panel:
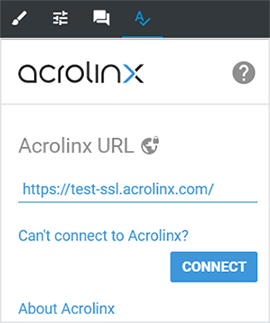
- Connect to the service and sign in:
- Click
CHECKto analyze your text by the specified criteria: