Appearance
Converter
You can convert a presentation from a PDF or PPTX files into the HTML5 format supported by the eWizard platform. To do so:
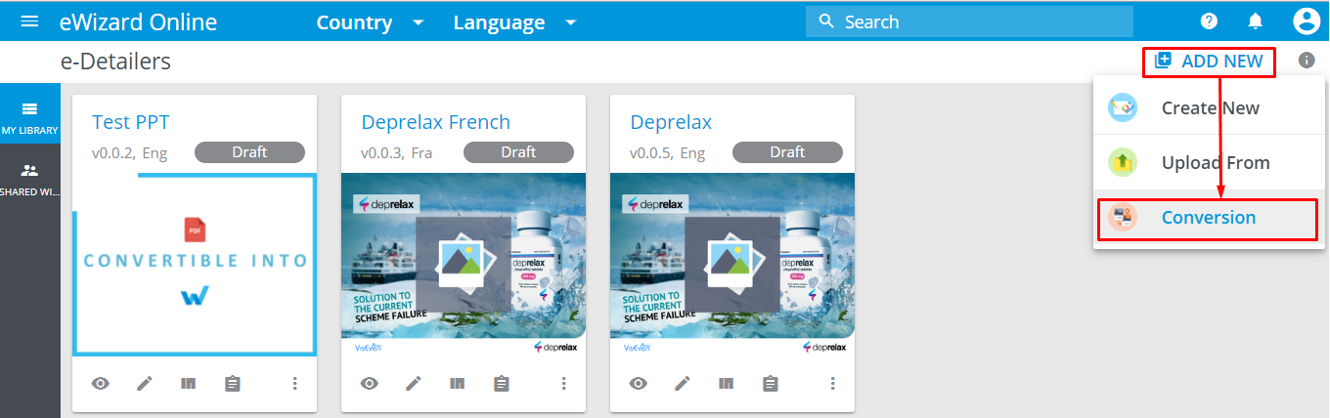
Go to eWizard
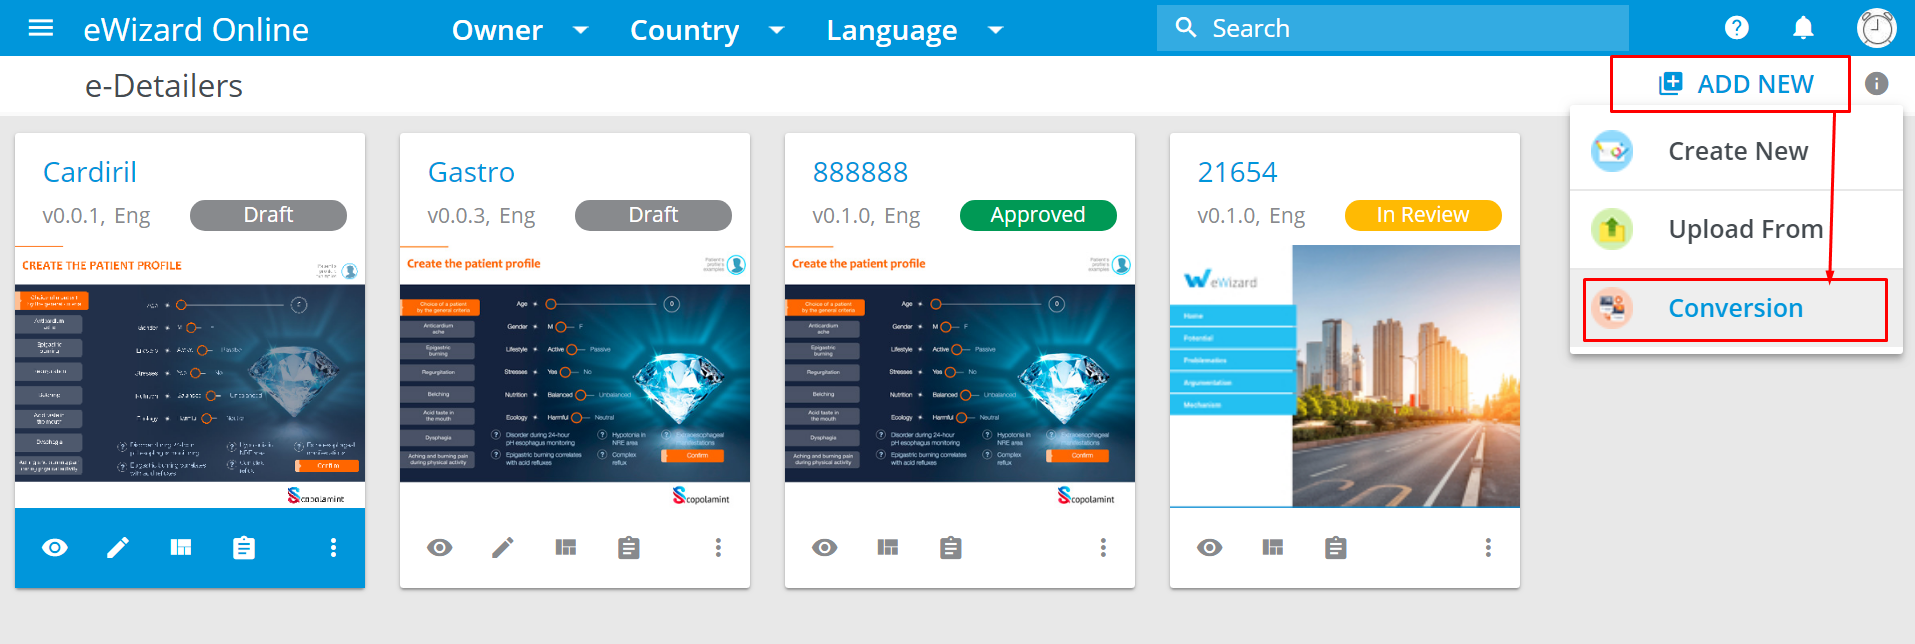
e-Detailerssection.Unfold
Add new.Click
Conversion.
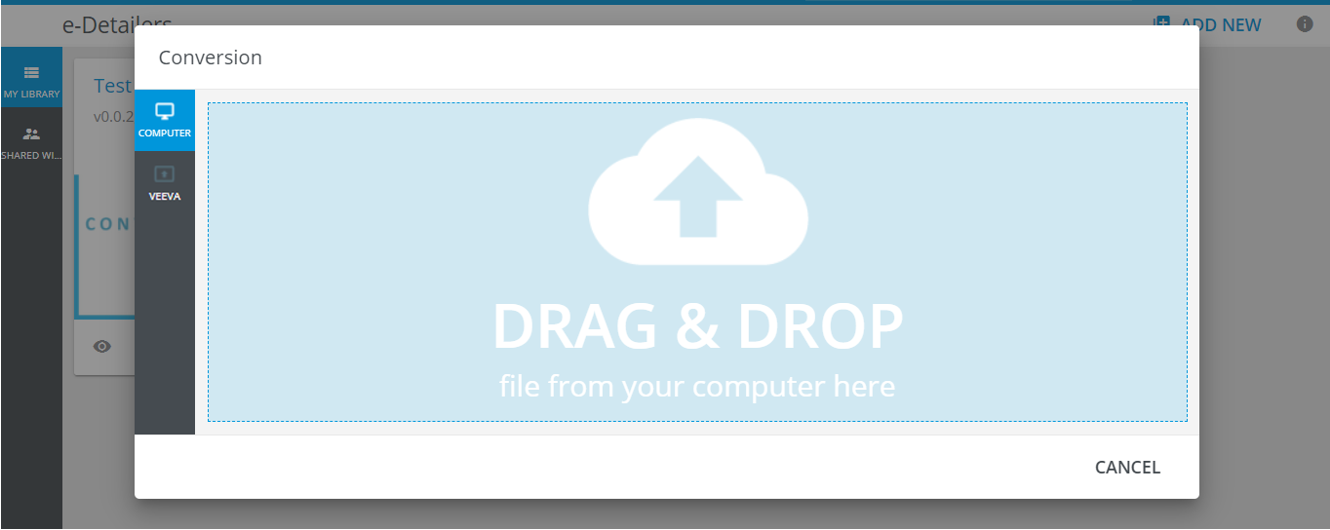
- Drag the required file and drop it into the blue area of the pop-up that appears (or click it to open the file explorer, where you can select a file):

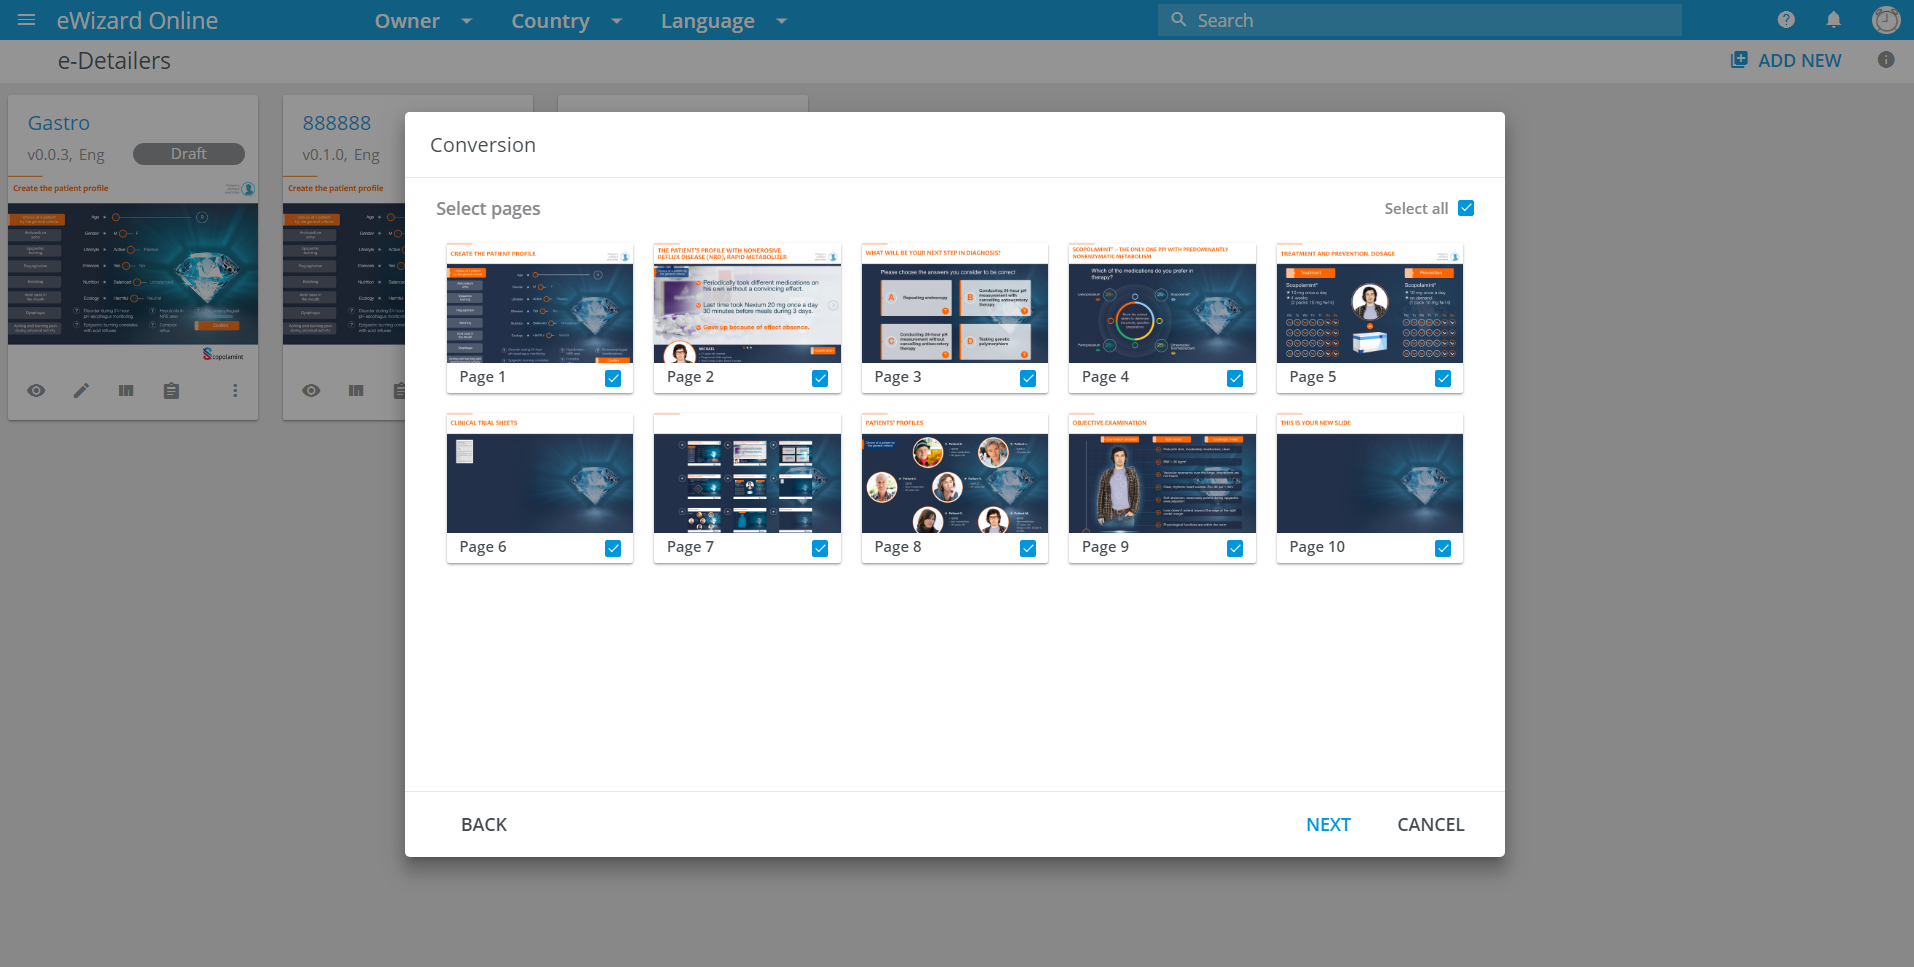
Your file will be split into slides. You can convert all slides or some of them.
- Select the required files by checking their boxes.
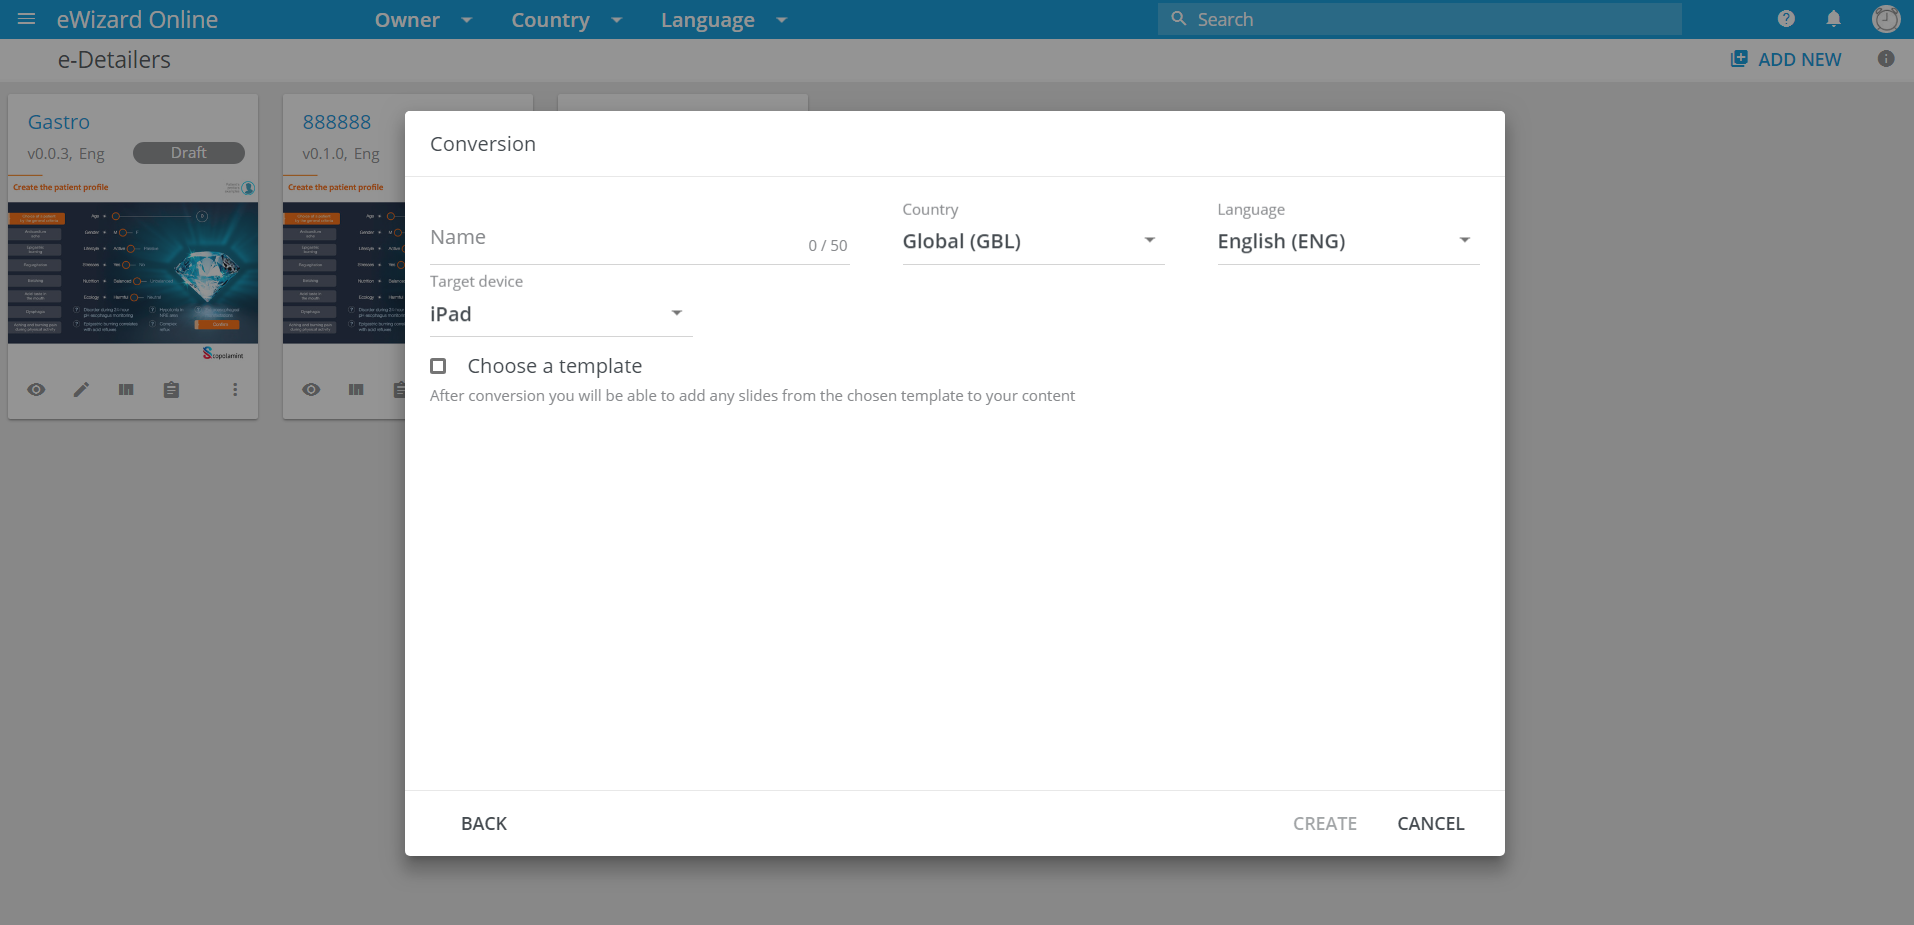
Set the name of your presentation.
Select the metadata and target device.
You can tie the presentation to a template.
- To choose a template, check the respective box.
You will see the available templates.
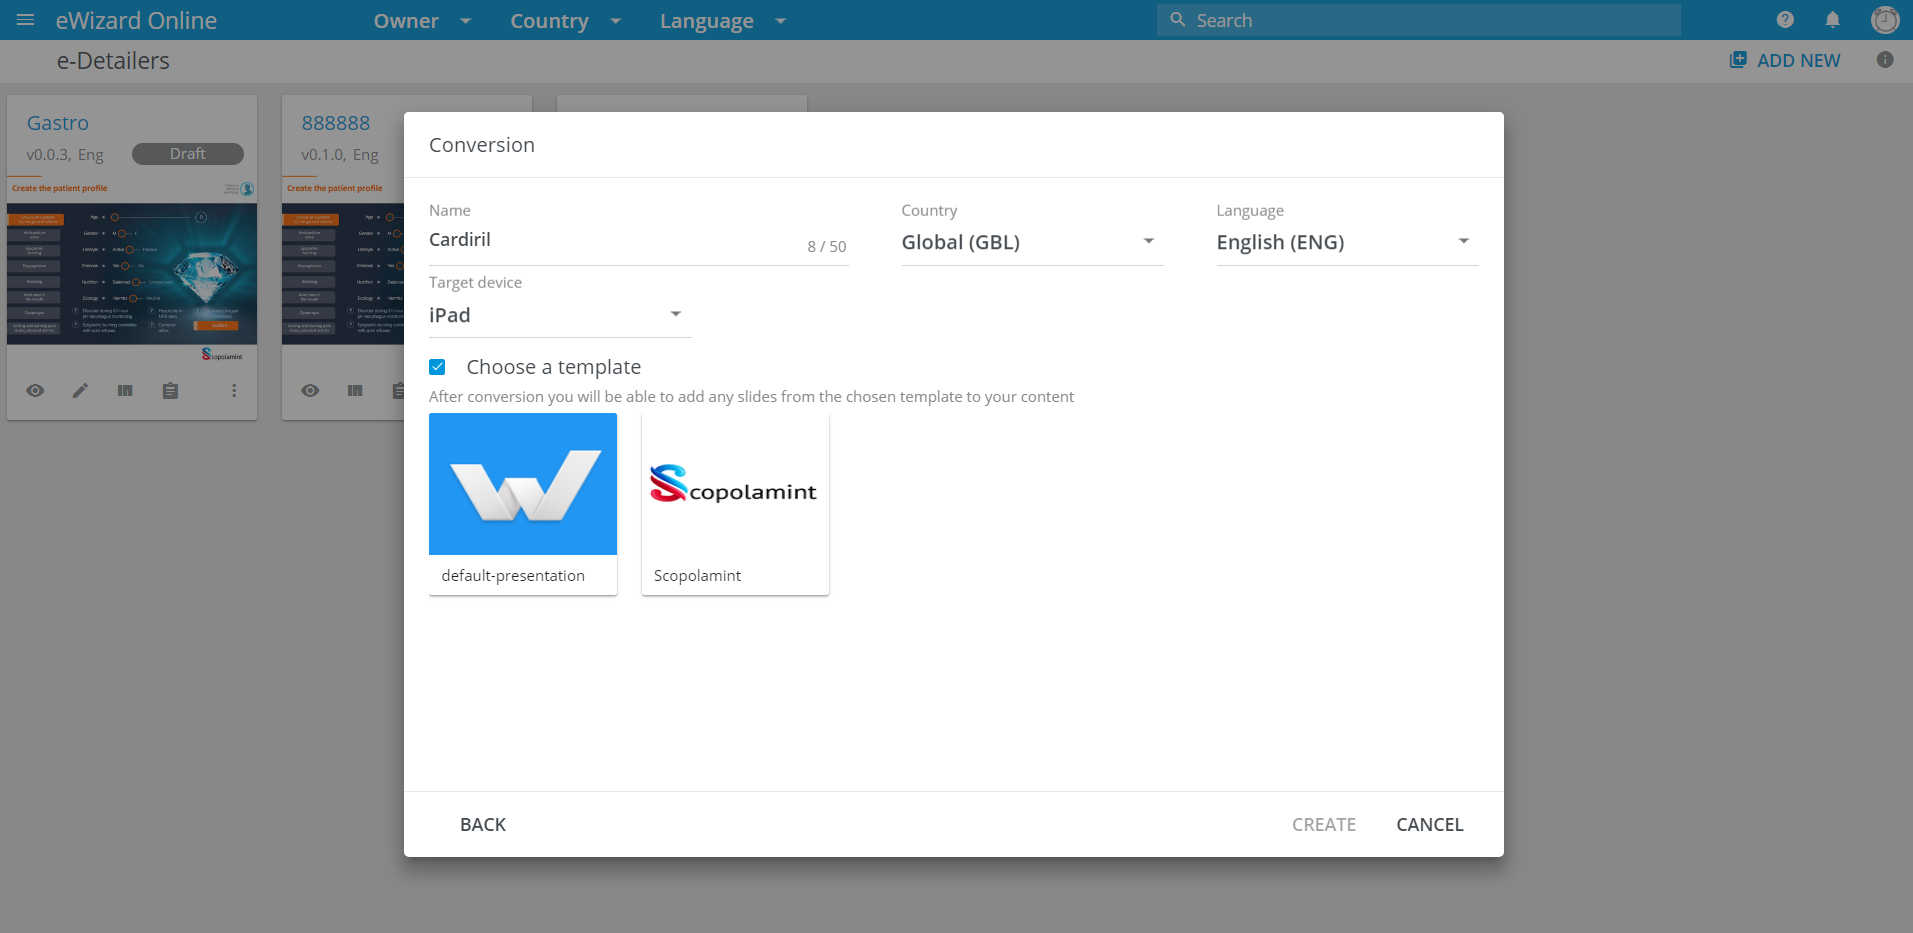
Select the template.
Click
Create.
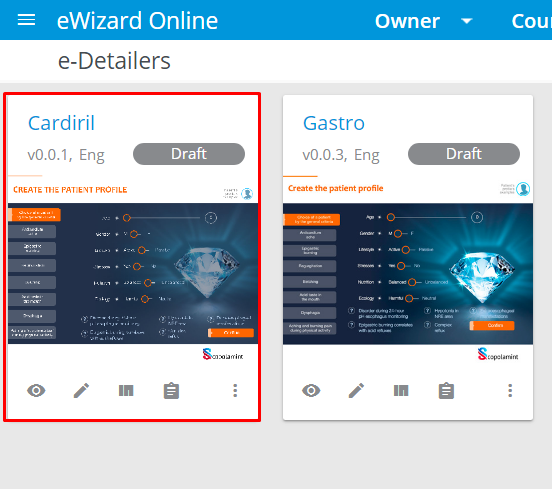
Your new converted presentation appears in the e-Detailers list. It will be as available for all the operations, as any other presentation.
PDF file requirements for proper conversion
There are basic requirements for a PDF file to be fully supported by eWizard Converter:
Complex backgrounds with multilayer bit-mapped and/or vector graphics or their combinations must be merged into a single raster layer in the JPG or PNG format.
Any blending is ignored during the conversion, so avoid it in your mock-up. If you need to use blending, merge everything into a single raster layer before conversion.
To reduce the slide size and refine HTML or CSS code, it is recommended to transform all vector elements into a raster layer in the JPG or PNG format, depending on the required result.
The more layers a mock-up contains, the more complex the resulting code structure is, so that you may need to minimize the number of layers in your mock-up.
All layers in your PDF must have unique names.
A text paragraph is converted as undivided element only upon the following: its content is aligned left; the font size is consistent; the gaps between the text lines don't exceed the font size. Otherwise, each text line is converted as a separate element, so that the more lines the PDF contains, the bulkier the resulting HTML code is.
All upper case texts are converted into separate elements (literally, letter-by-letter). To avoid this, use both upper and lower cases.
Converted e-Detailers collect standard monitoring KPIs without any additional setup. Conversion may fail to complete if extremely heavy graphic elements are used in a PDF.
Conversion example
Here you can compare the conversion results of optimized and non-optimized source slide.
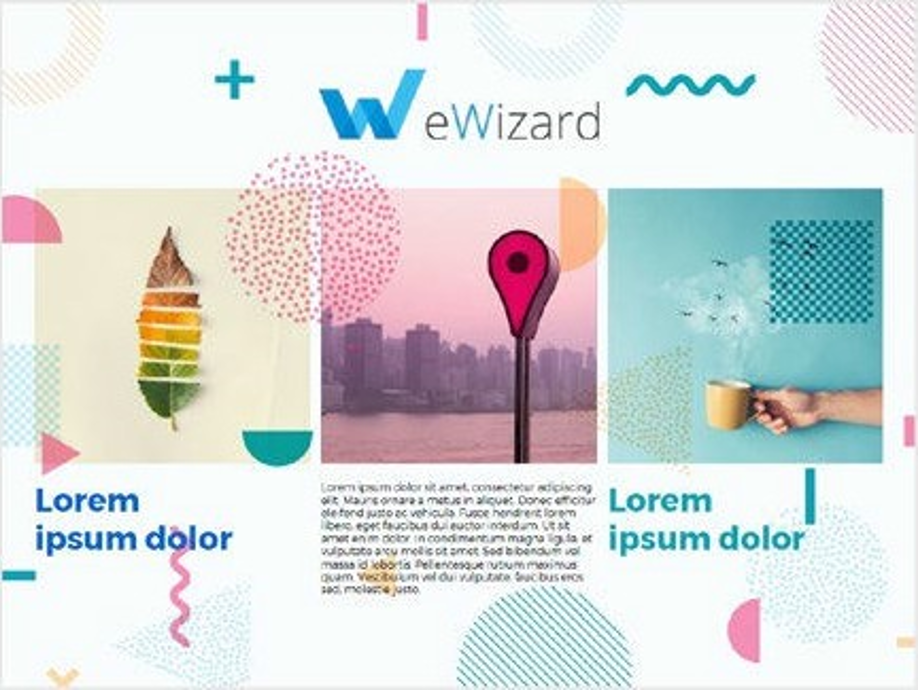
Source slide
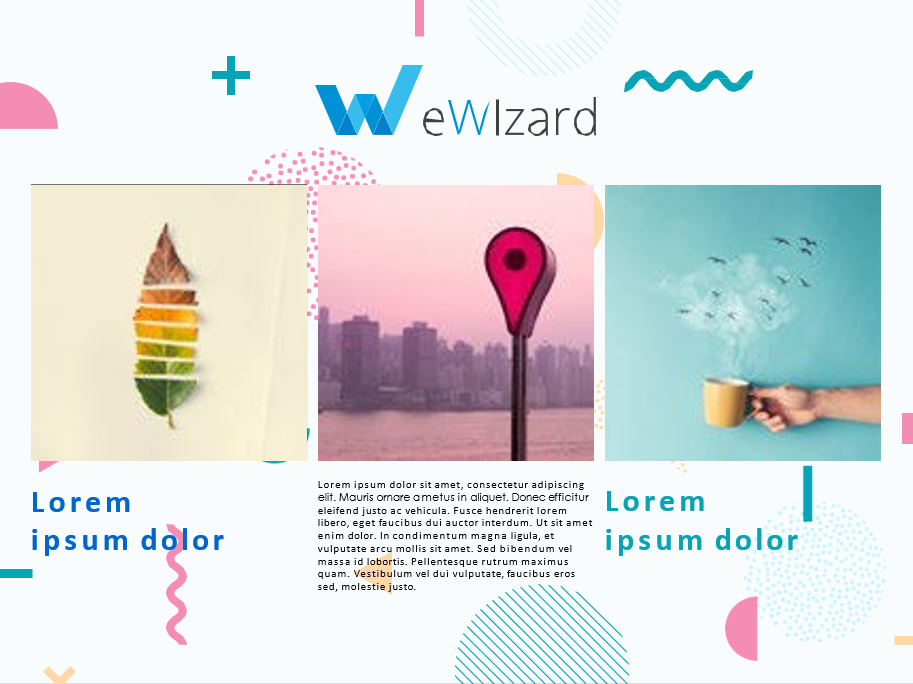
Graphics
Let's break it up into separate graphic elements. They will be of the following kinds:
bit-mapped images
vector graphics
We can also see that the blending effect which does not render in eWizard has been applied to raster images. Hereafter we will go over the ways of retaining this effect.
The text optimization principles are listed below.
Next, point the vector graphics. All images of this kind are made of multiple combined contours (plates) with either the Fill or the Outline setting for each one. During conversion eWizard identifies every single plate as a separate element and creates, accordingly, a separate container (tag) in the code structure for each element. That is why it is strongly recommended to combine such vector arrays into a single object or rasterize them when preparing a PDF.
For instance, we can leave this array of 9 vector dots as 9 separate elements; alternatively, we can optimize them by merging their contours into a single shape or by creating a single raster image from them.

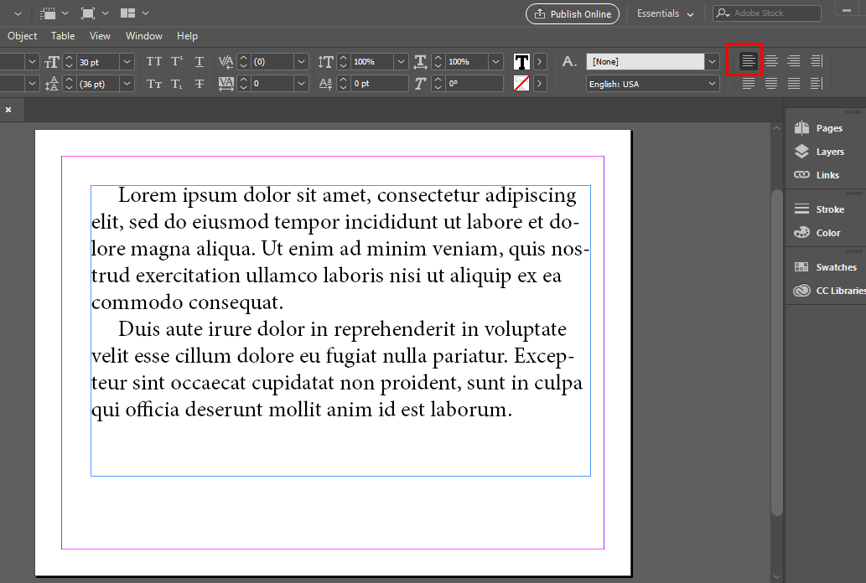
Texts
To get a text paragraph converted as one whole element, we have done the following:
Set one font size for the whole text.
Aligned the text left.
Set the gaps between the text lines smaller than or equal to the font size.
Optimized PDF
This prepared PDF file is previously optimized according to the recommendations. The resulting slide is light, its HTML code comprises few lines, and texts are converted as sole blocks.
Recall, how the source slide is optimized:
Logo is rasterized and saved as an image with a transparent background (PNG);
The entire slide background is combined into a single image and saved as a raster image (JPEG);
To retain a blending effect, the three hero images are added to the background image and saved as a single file (this approach is reasonable only when it is necessary to keep graphic nuances).
The text is aligned left, its font is unified, and the interline is set no more than the text font.
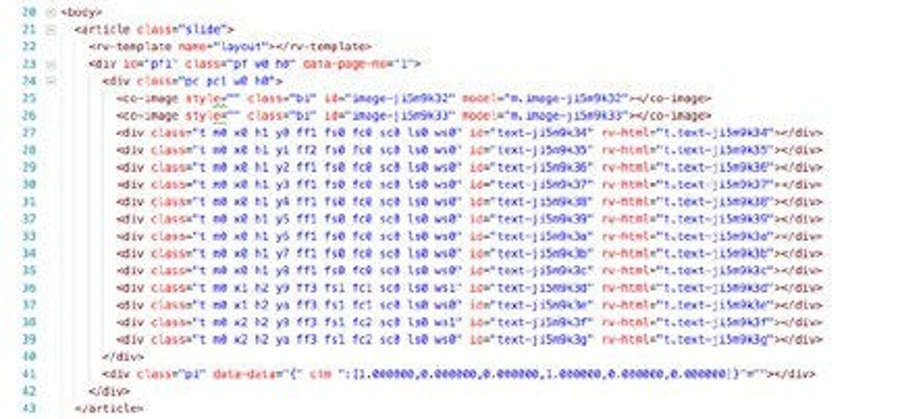
HTML code
The code is not bulky:
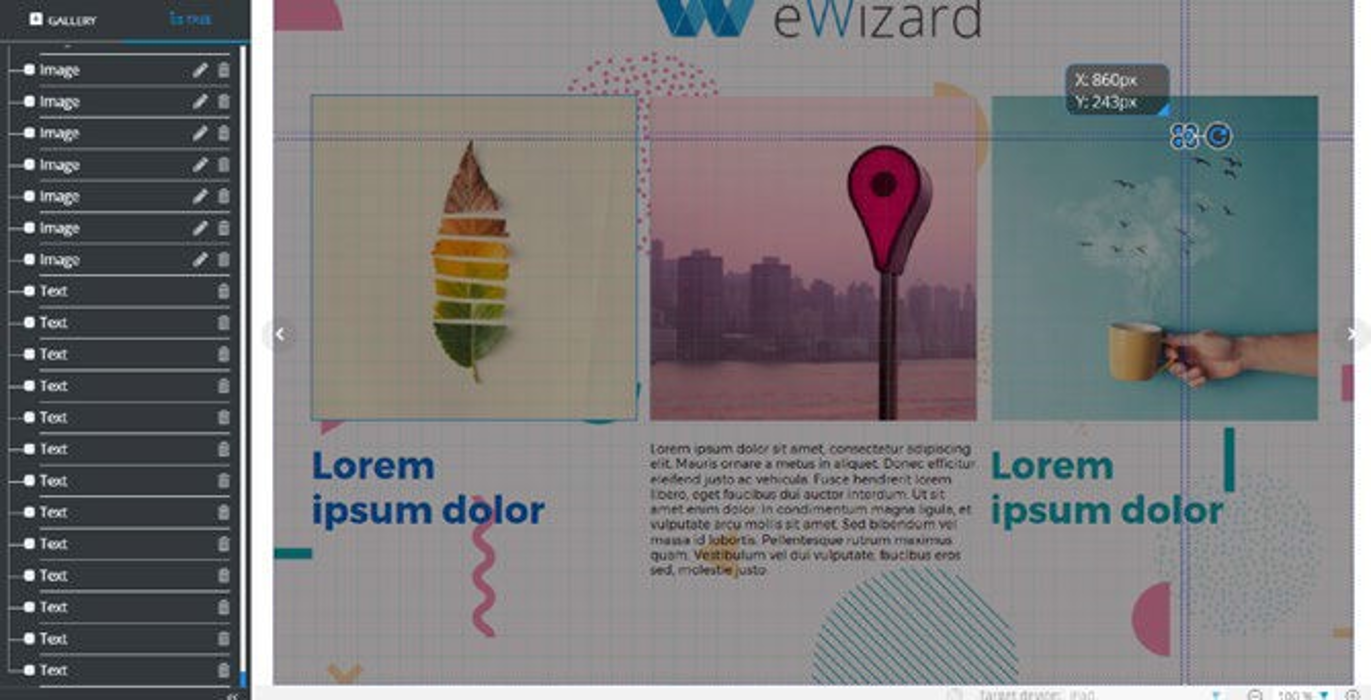
Graphics
All graphics are kept:
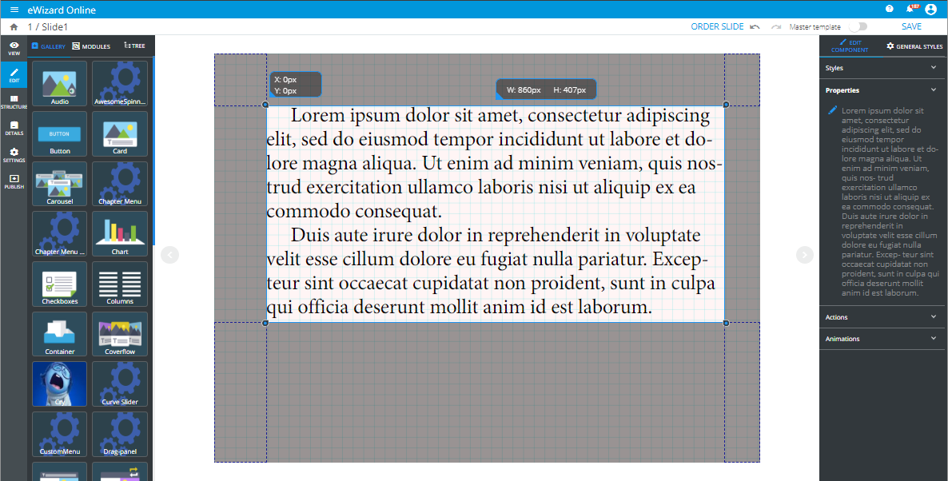
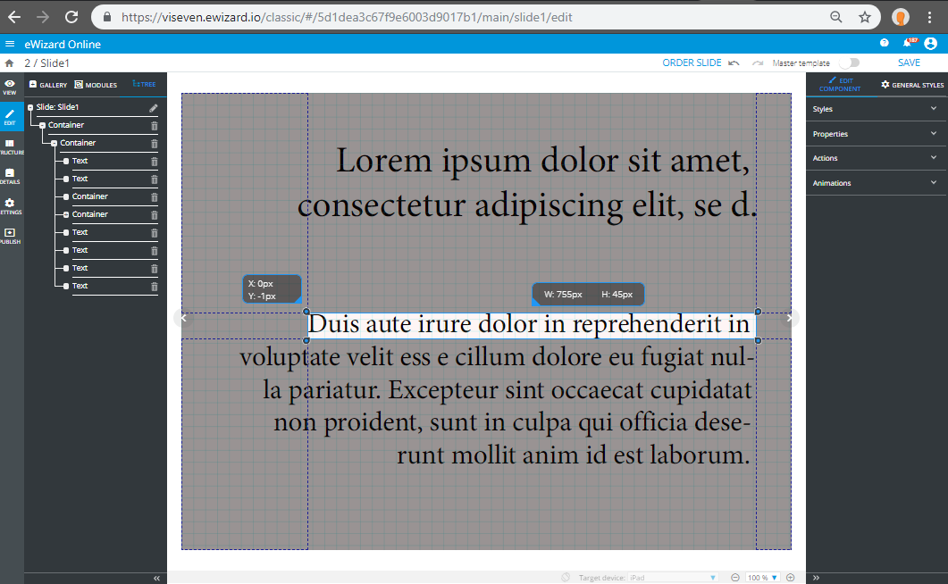
Text
Text is converted as a single editable block:
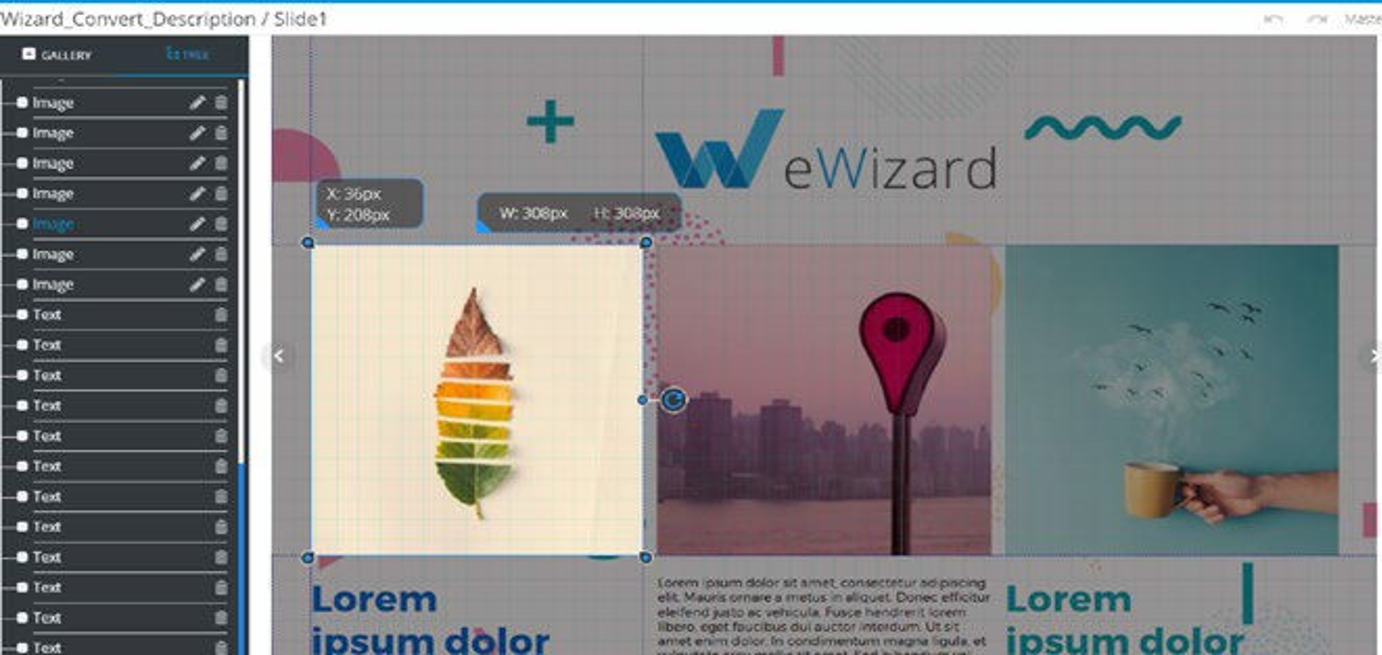
Slide
The converted file contains 53 layers and 40 image components:
Non-optimized PDF
Now look, what if we haven't optimized this PDF before conversion. The graphics and texts would be left without the above changes.
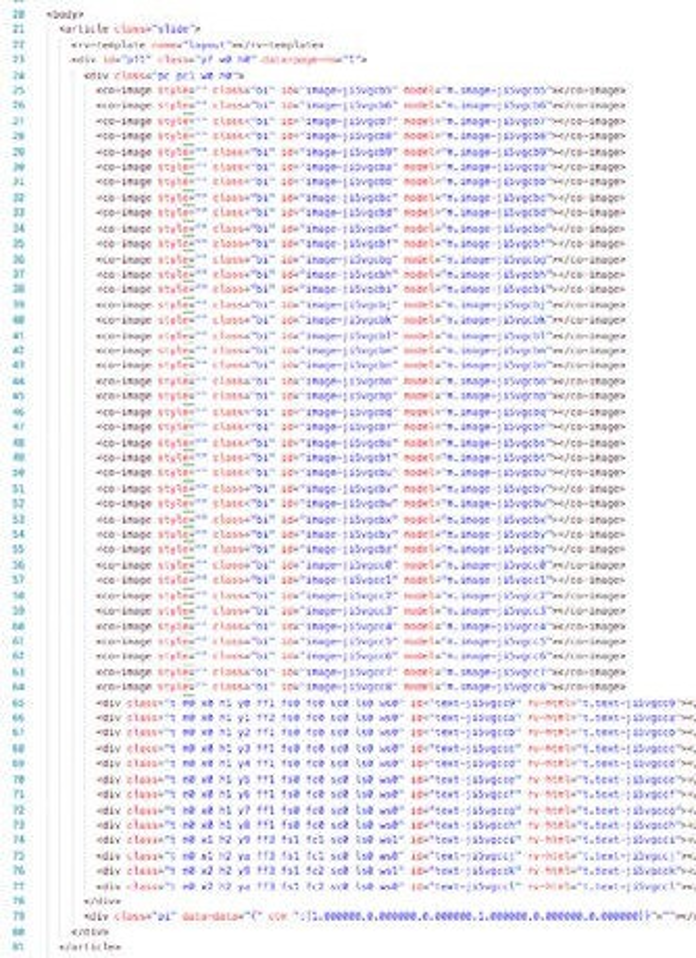
HTML code
All composite elements of vector graphics were rendered as separate elements, so that the resulting code structure is enormously bulky:
Graphics
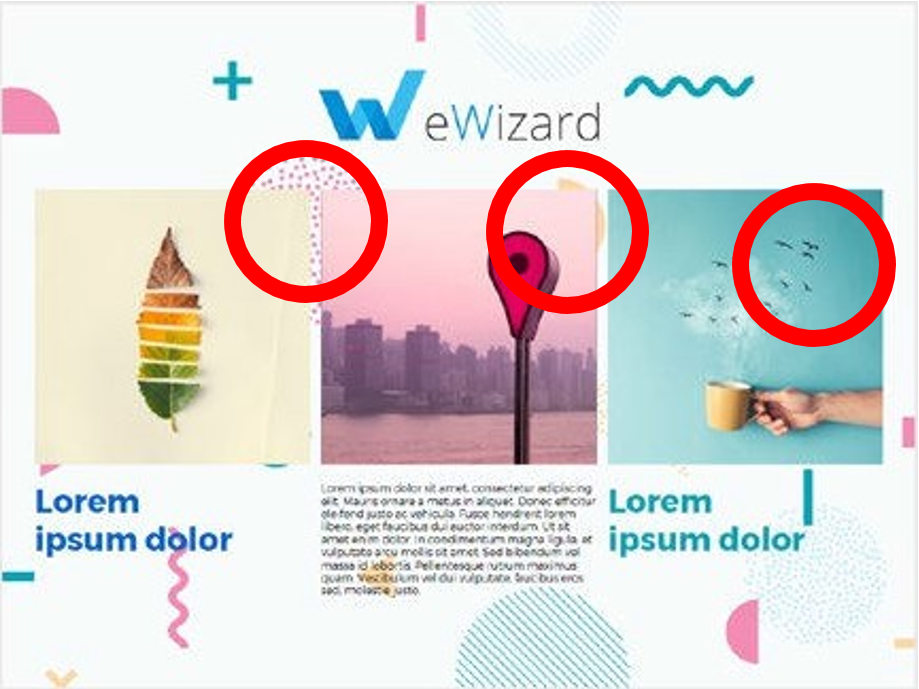
All blending effects disappeared from the slide (look at the red circles):
Text
Non-optimized texts were converted line-by-line as separate elements:
Slide
The converted slide contains 1031 layers and 1018 image components:
Text links and links for groups of elements
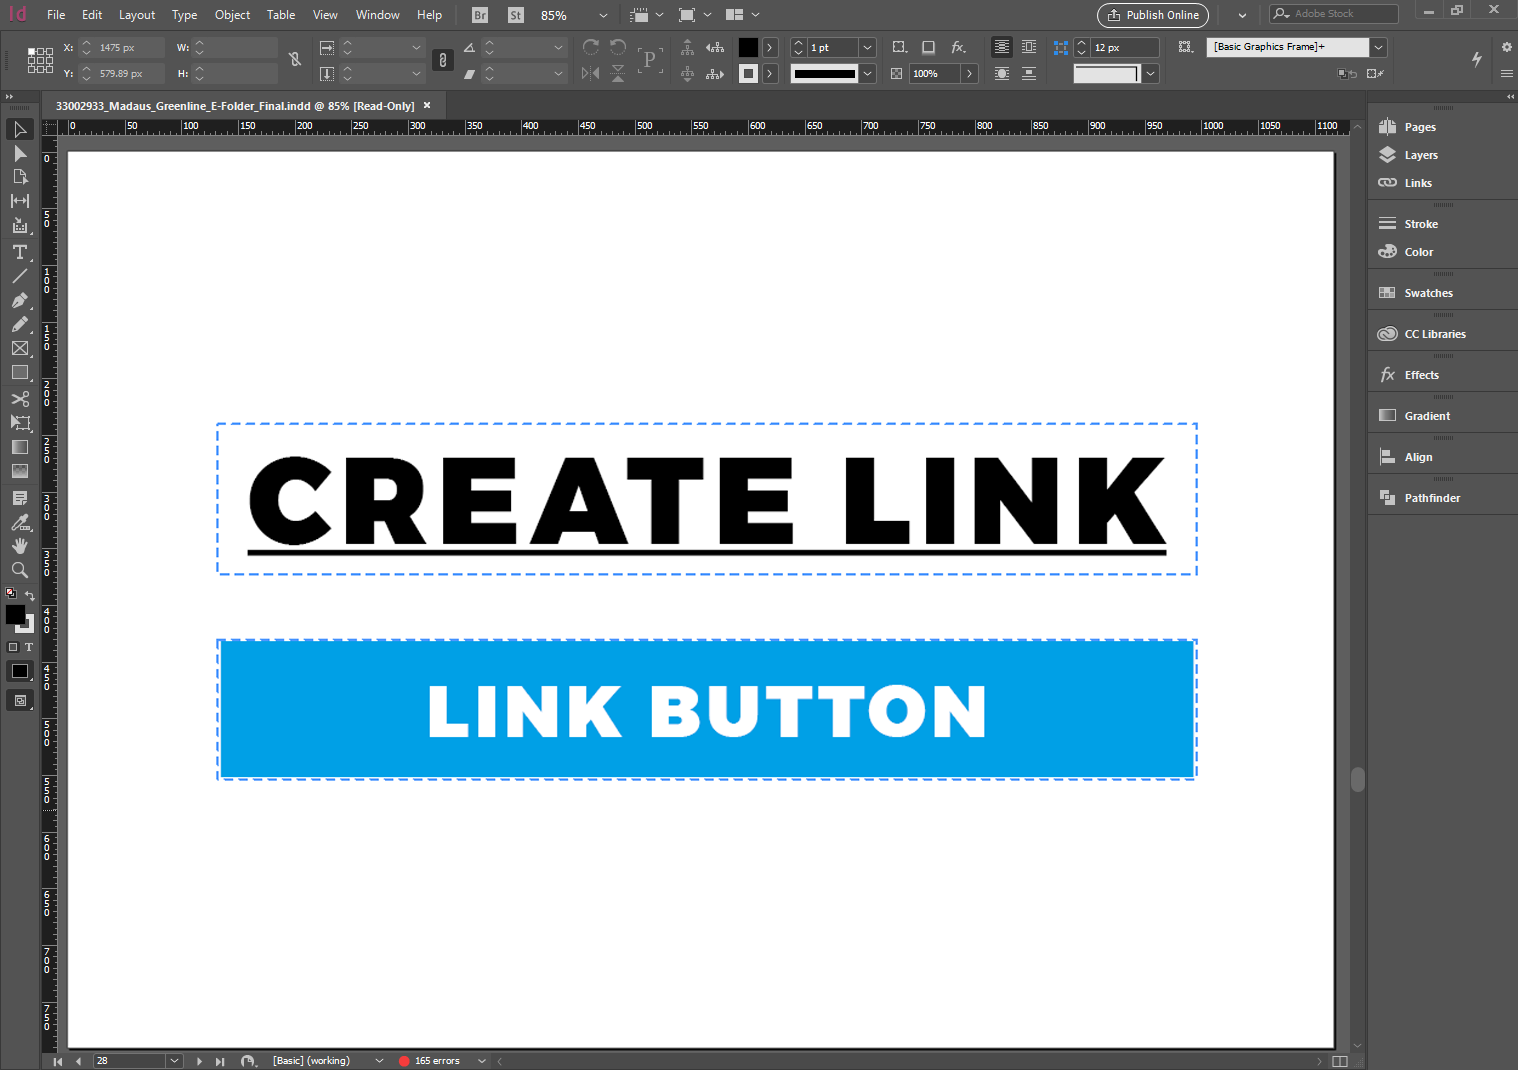
To add a hyperlink to a text block, a piece of text, or a group of elements (e.g. a plate or a button), first you need to create the element to attach a link to.
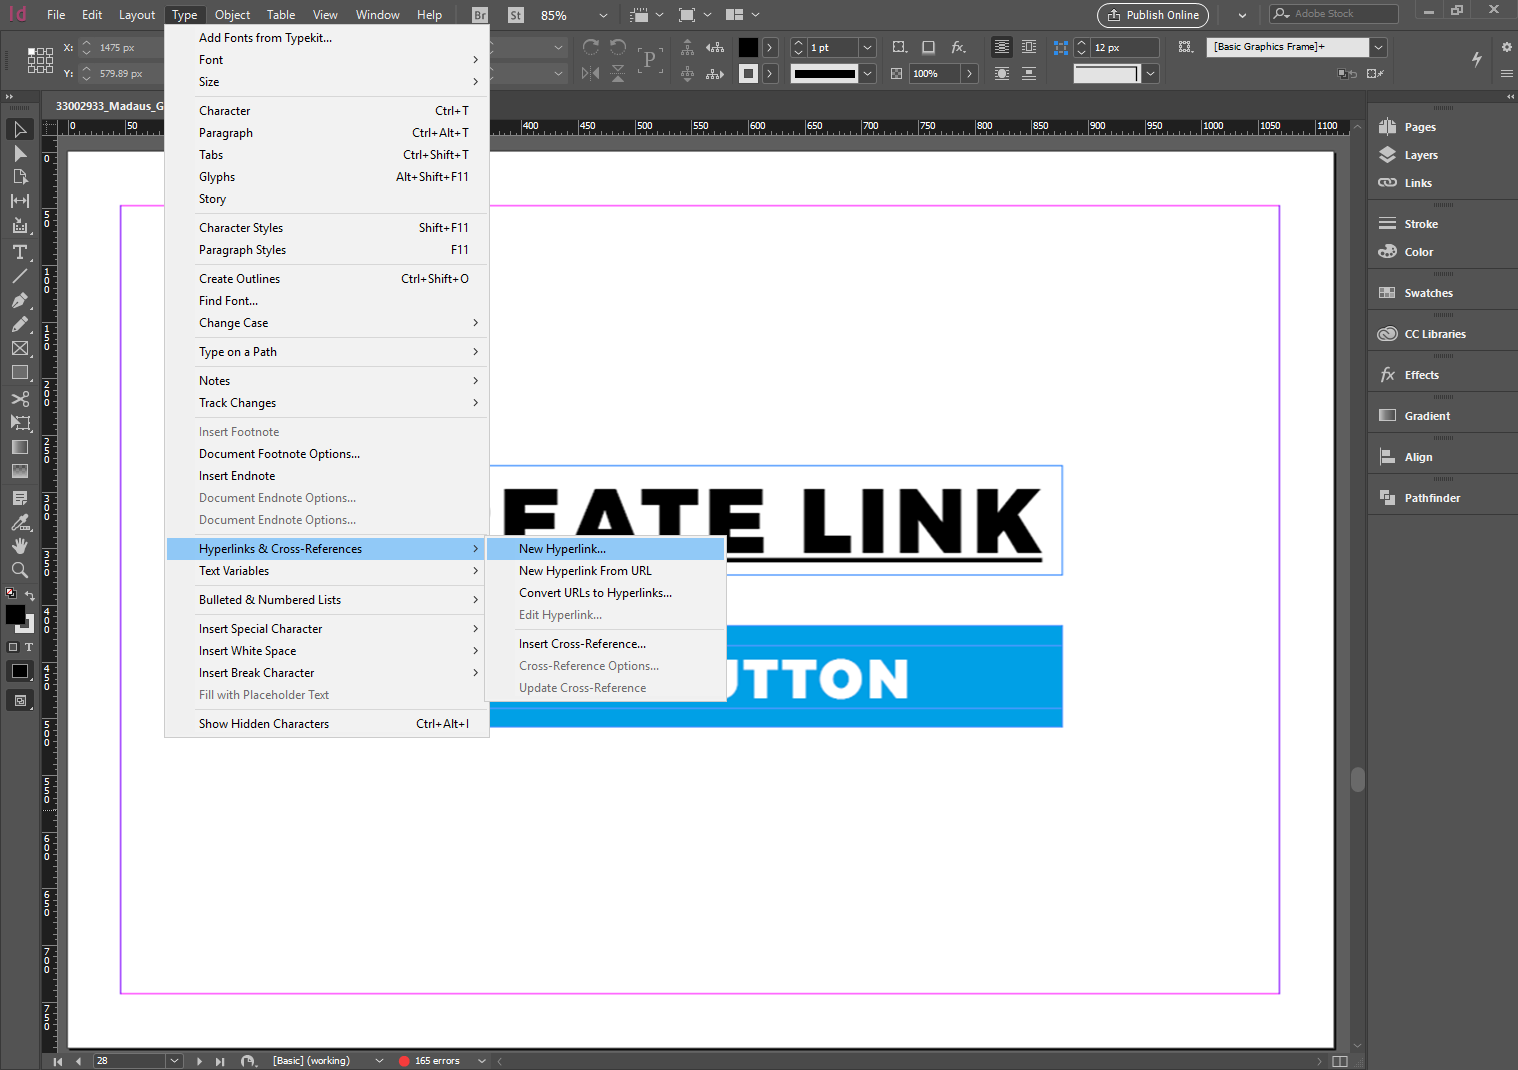
In our example we have two elements: a text (above), and a button (below).

To add a link to the text element:
Select the whole text block (if you want to add a link to the whole text) or select a part of it (to create a link for certain layers only).
Go to
Textmenu.Select
Hyperlinks & Cross-References.Select
New Hyperlink.
New Hyperlink window opens.
Select
URLin theLink Todropdown.Enter your link into the
URLinput.Click
OK.
Your link has been attached.
After you have attached a link, the selected block is bordered with the dashed line, indicating that this is an interactive element.
To attach a link to several layers:
Select the layers you need.
Press
Ctrl+Gon the keyboard. Attaching links to other elements is analogous to attaching them to the text.
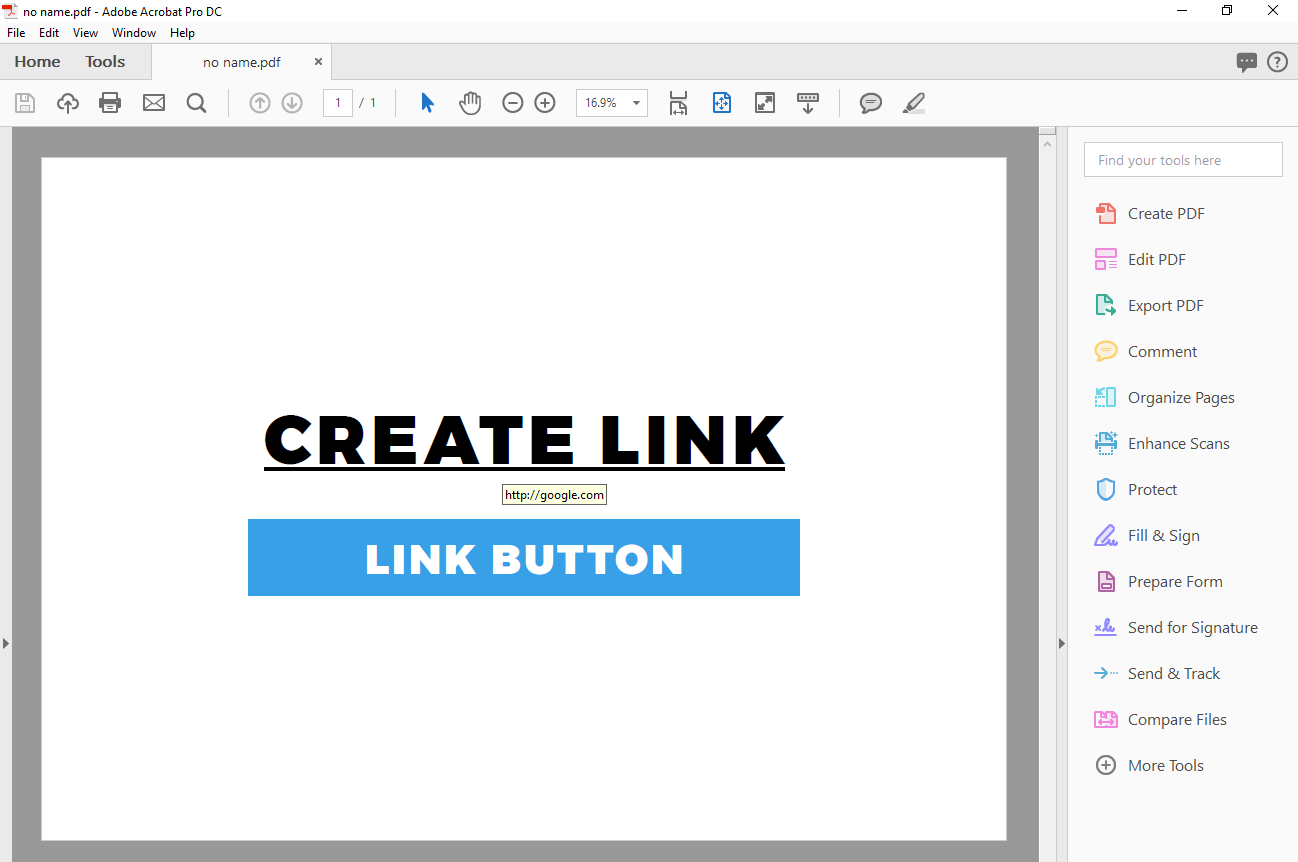
Note: while exporting, choose interactive as a type of your PDF!
Now you can check your PDF-file after exporting it.
PPTX file requirements for proper conversion
Prior to converting your PPTX file into e-Detailer, consider your target device screen aspect ratio (4:3 or 16:9).
To keep the high quality of images after converting a PPTX file, set the widescreen (16:9) slide size in the PPTX file editor you're using. Make sure to apply this setting to all required slides.
Transitions:
Deactivate auto transitions between slides in your PPTX file.
Make sure that all slide states are tied to one slide.
Text:
For correct text display, perform the following steps before converting each document:
Use the system fonts only.
Customize the presentation saving to embed all characters.
Keep in mind that eWizard doesn't support transparency in the text components.
Elements:
Make sure that there are no elements outside the slide area in your PPTX presentation. eWizard Converter crops out-of-slide elements.
Don't group elements unless it is OK to transform them into sole images.
The slides resolution: The standard aspect ratio is 4:3 (1024x768px).
The file name must consist of Latin letters only. Other letters and symbols are not supported.
How to convert a PPTX presentation in eWizard
Open your e-Detailers Library.
Click
Add new.Select
Conversion.
- Click the blue area and select the required presentation OR drag and drop the presentation into the blue area.
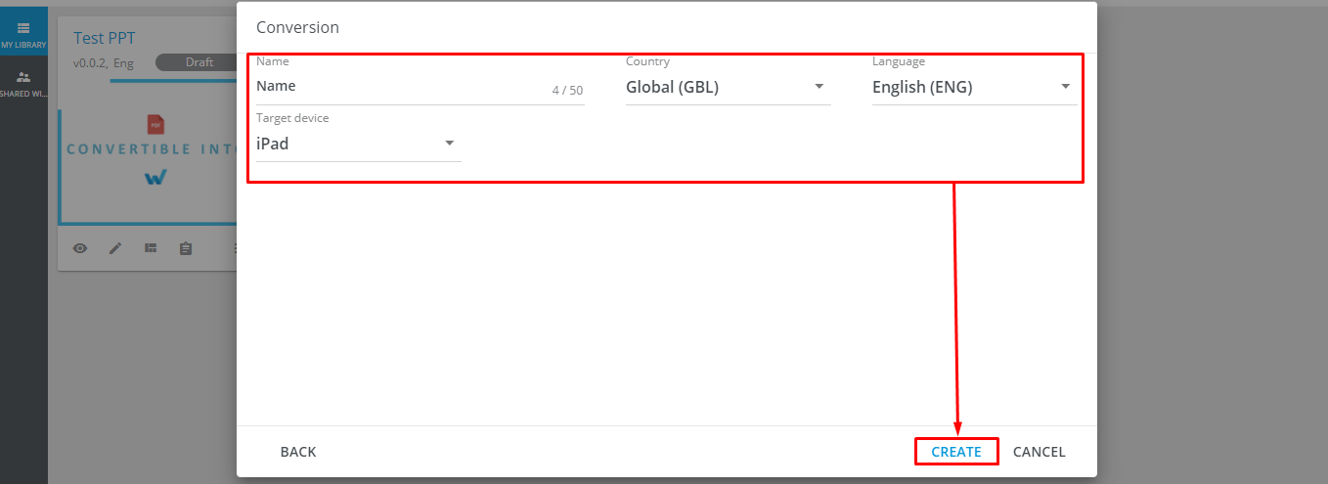
- Fill in all required fields:
The e-Detailer's name,
The target country,
The e-Detailer's language,
The target device.
- Click
Create.
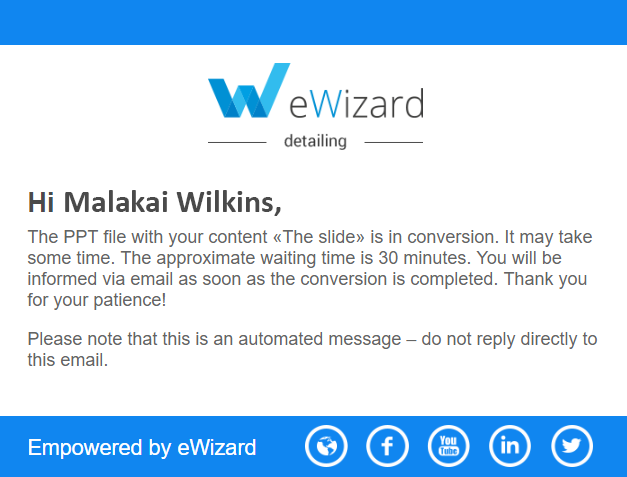
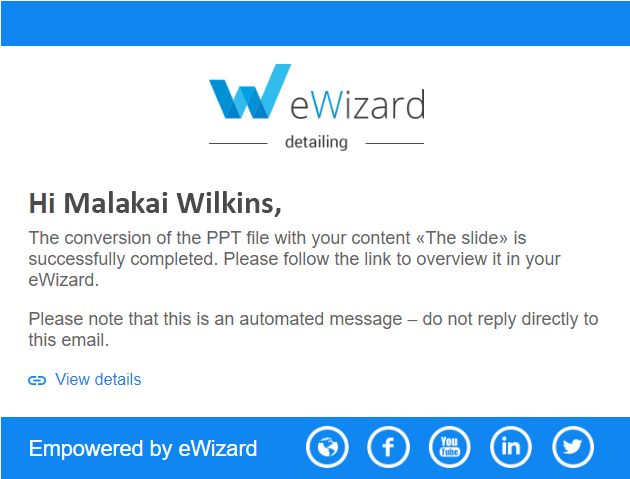
You will receive email notification about the start and completion of the presentation conversion:
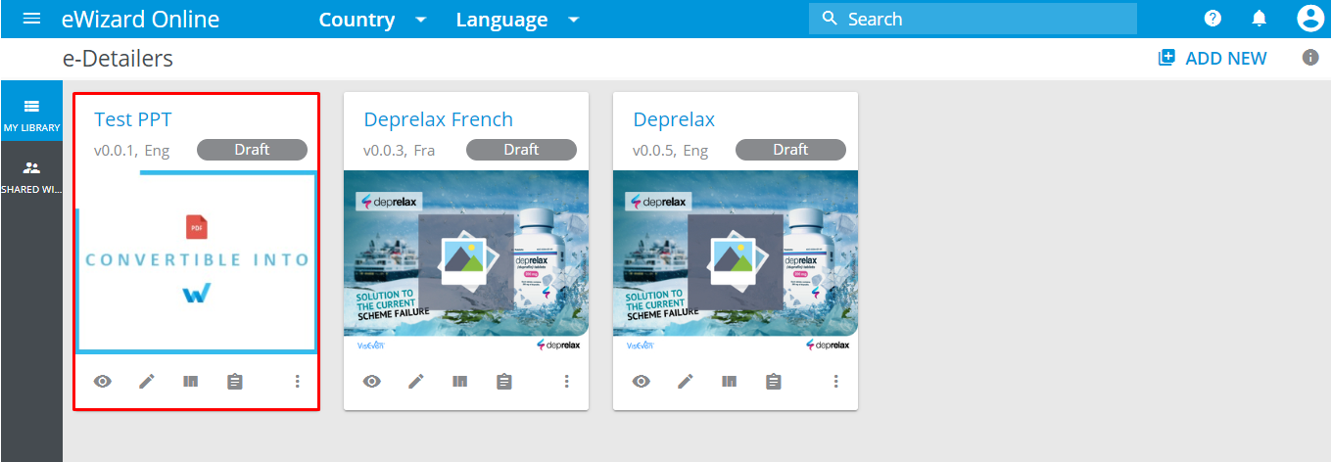
- Your presentation appears in the e-Detailers Library with animations saved.
The converted e-Detailers editing functionality is reduced; however, all essential options are available.