Appearance
Veeva CRM (iRep)
Select Veeva CRM in the presentation Publish section. The Salesforce server selection form will appears.
You can choose one of the options (Sandbox/Production) from the dropdown list:
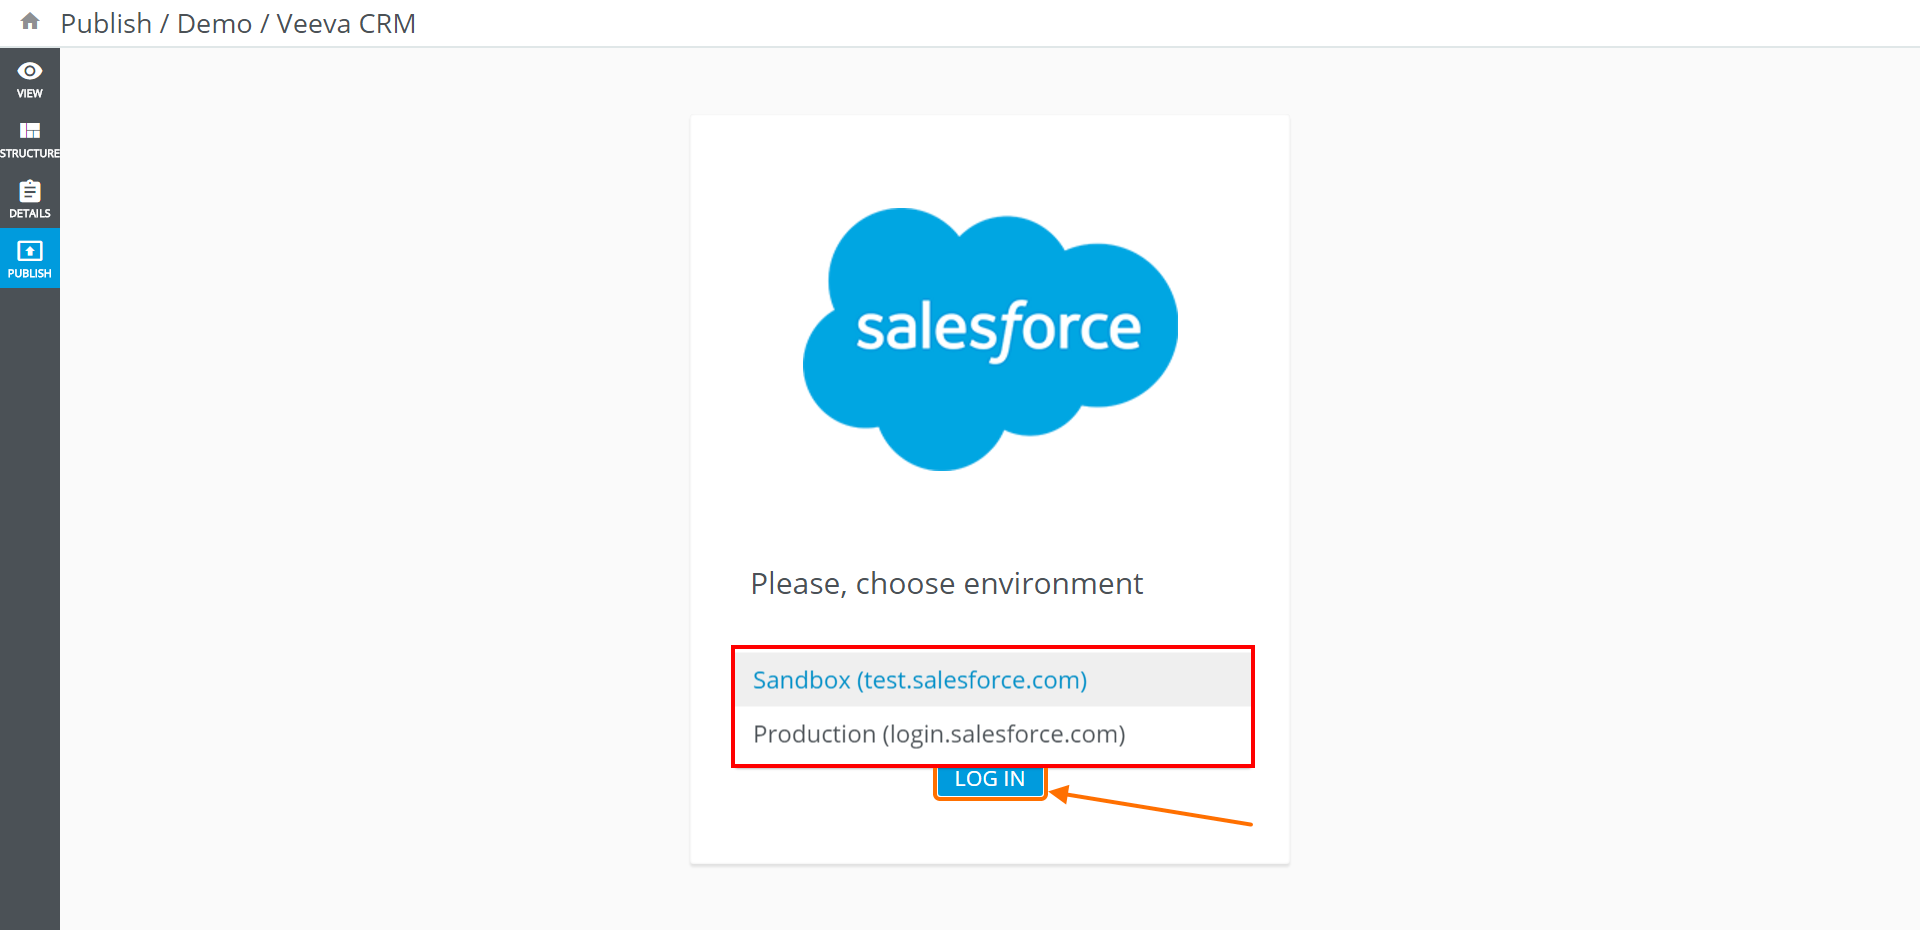
Click LOG IN to proceed.
Enter the credentials to the corresponding fields and you will be automatically redirected to the next pop-up screen in case of a successful login:

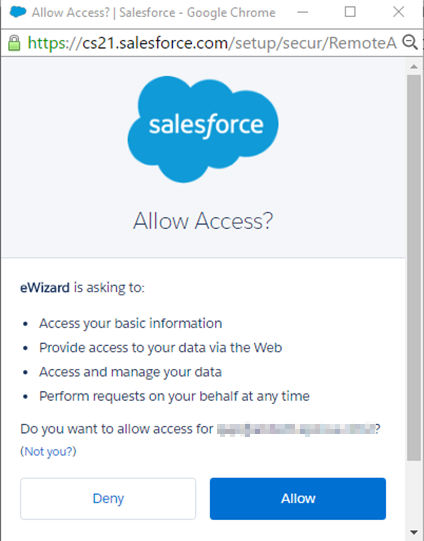
You will see a pop-up, asking to access information from eWizard. Click Allow:
Select the way to publish and click NEXT:
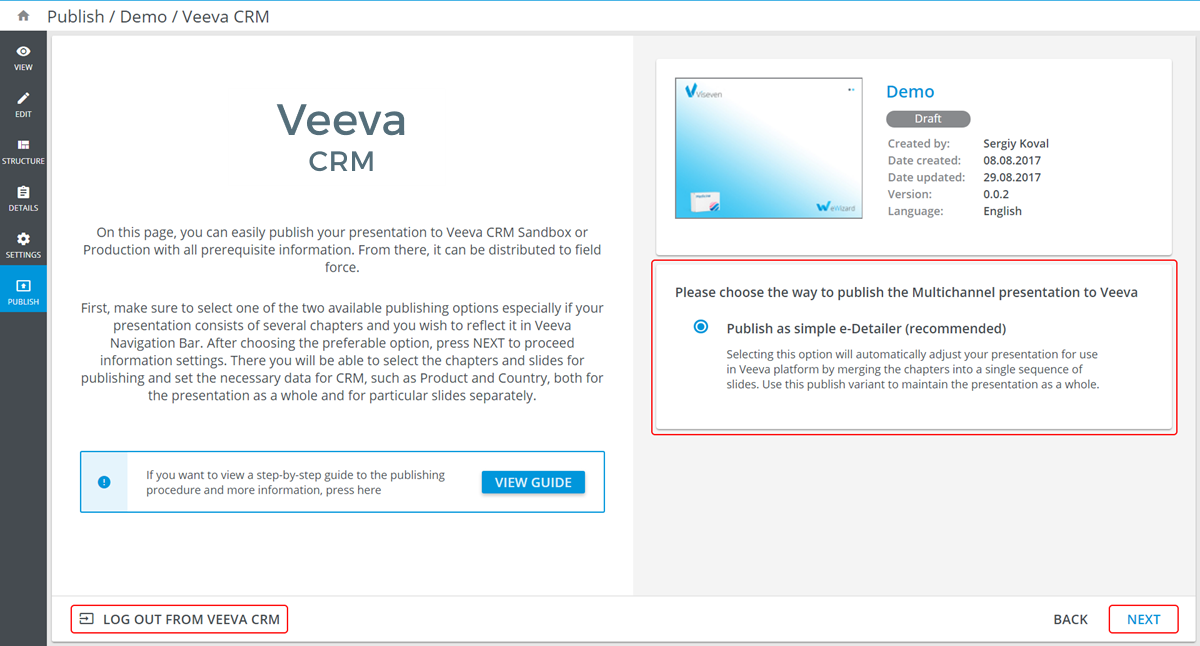
Also you can logout from Veeva CRM via LOG OUT FROM VEEVA CRM button.
Select at least one slide and, if it's necessary, Product.
The slide settings are displayed (editable) on the slide row:
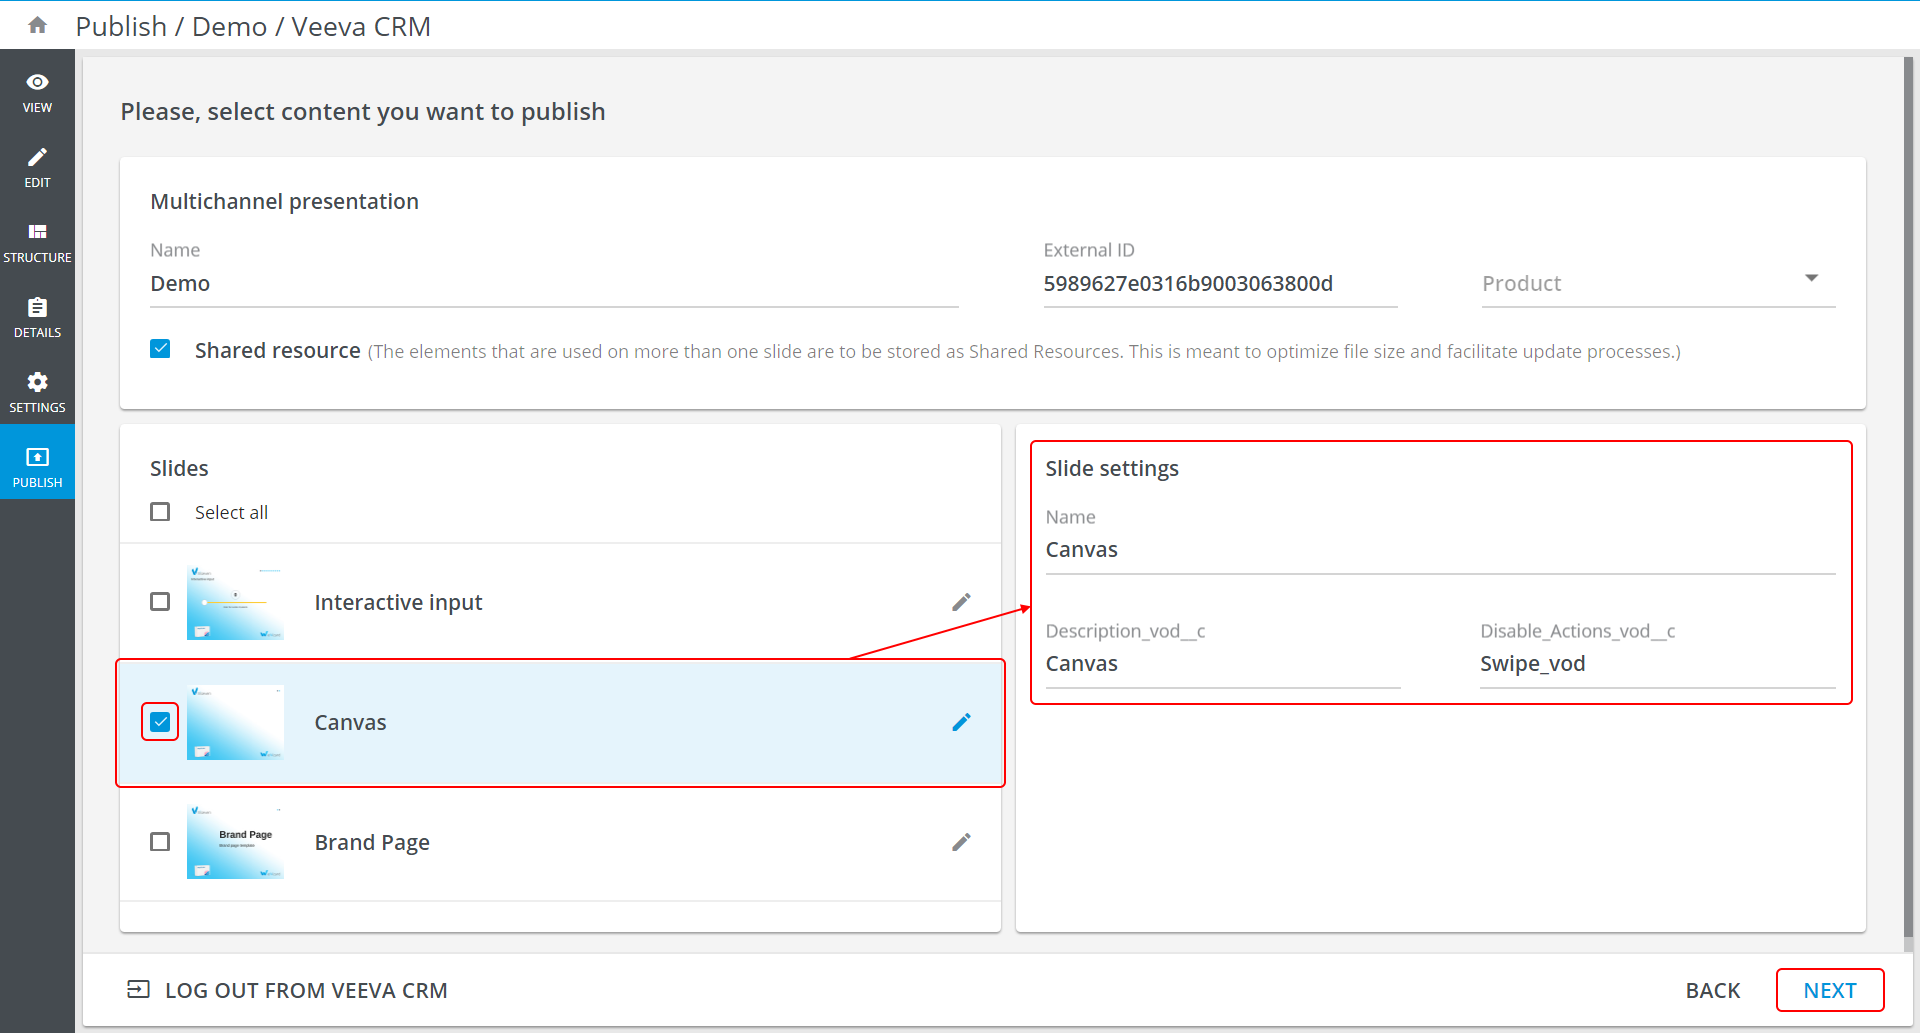
Click NEXT.
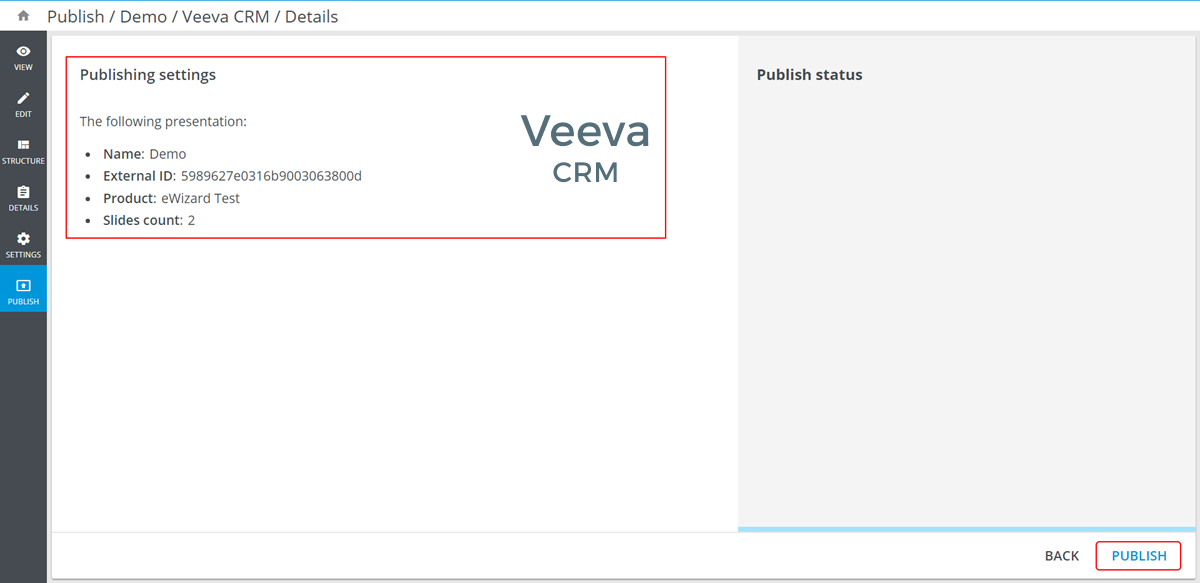
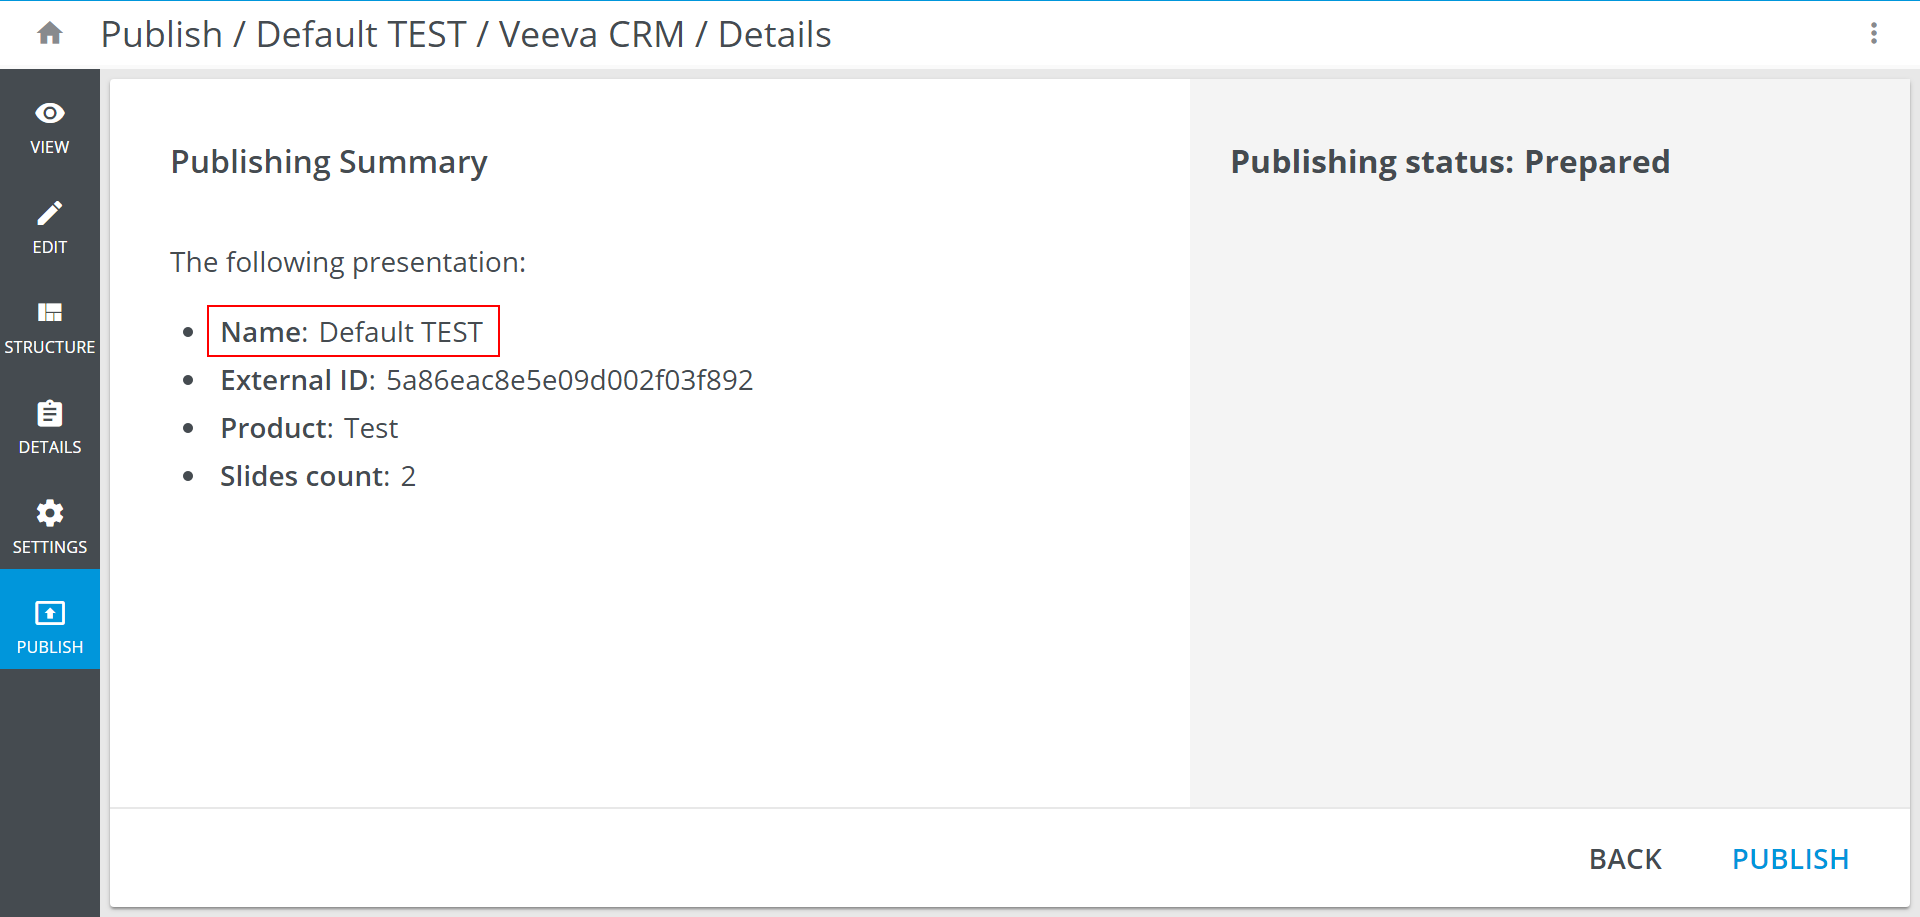
Check Publishing settings and click PUBLISH:
When the process of publishing is completed, a link to a published item appears:
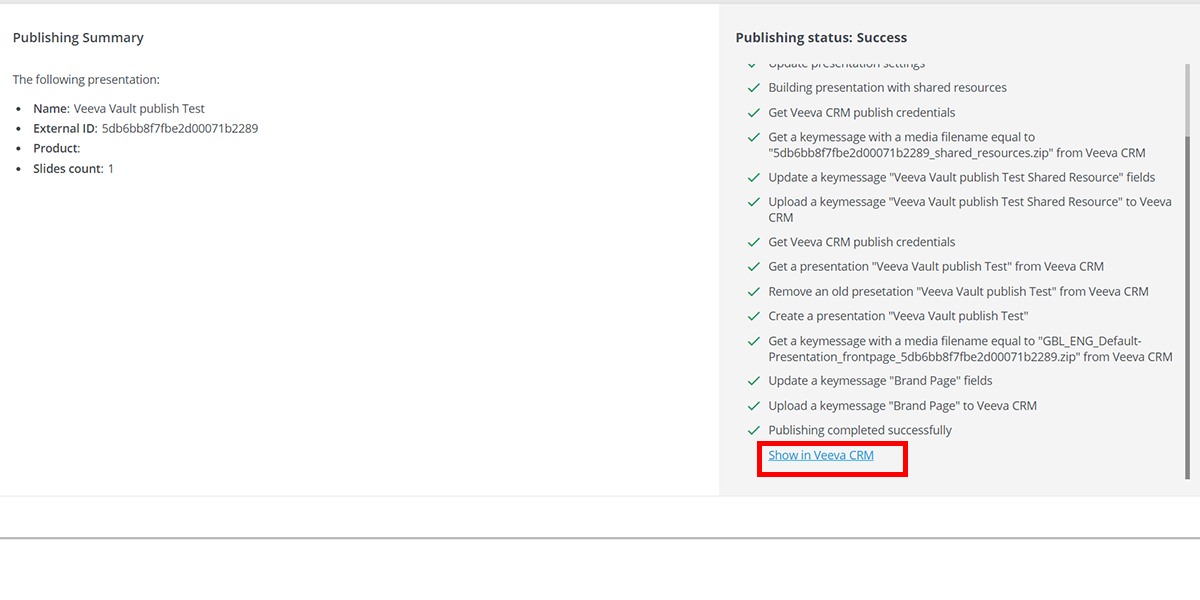
You will also receive an email, informing you that presentation has been published to Veeva CRM.
Before publishing presentations, ensure that the presentation's AssetFileNameTemplate is unique within the Salesforce instance! Otherwise it will attempt to rewrite an existing same name record and, if instance settings allows, older record will be OVERWRITTEN (!).* Detailed assetFileNameTemplate description is in presentation Settings article.
Adding the Country code
eWizard does not add the country code automatically, but you can do it manually in iRep. Go to your Salesforce account. Enter your username and password to proceed:

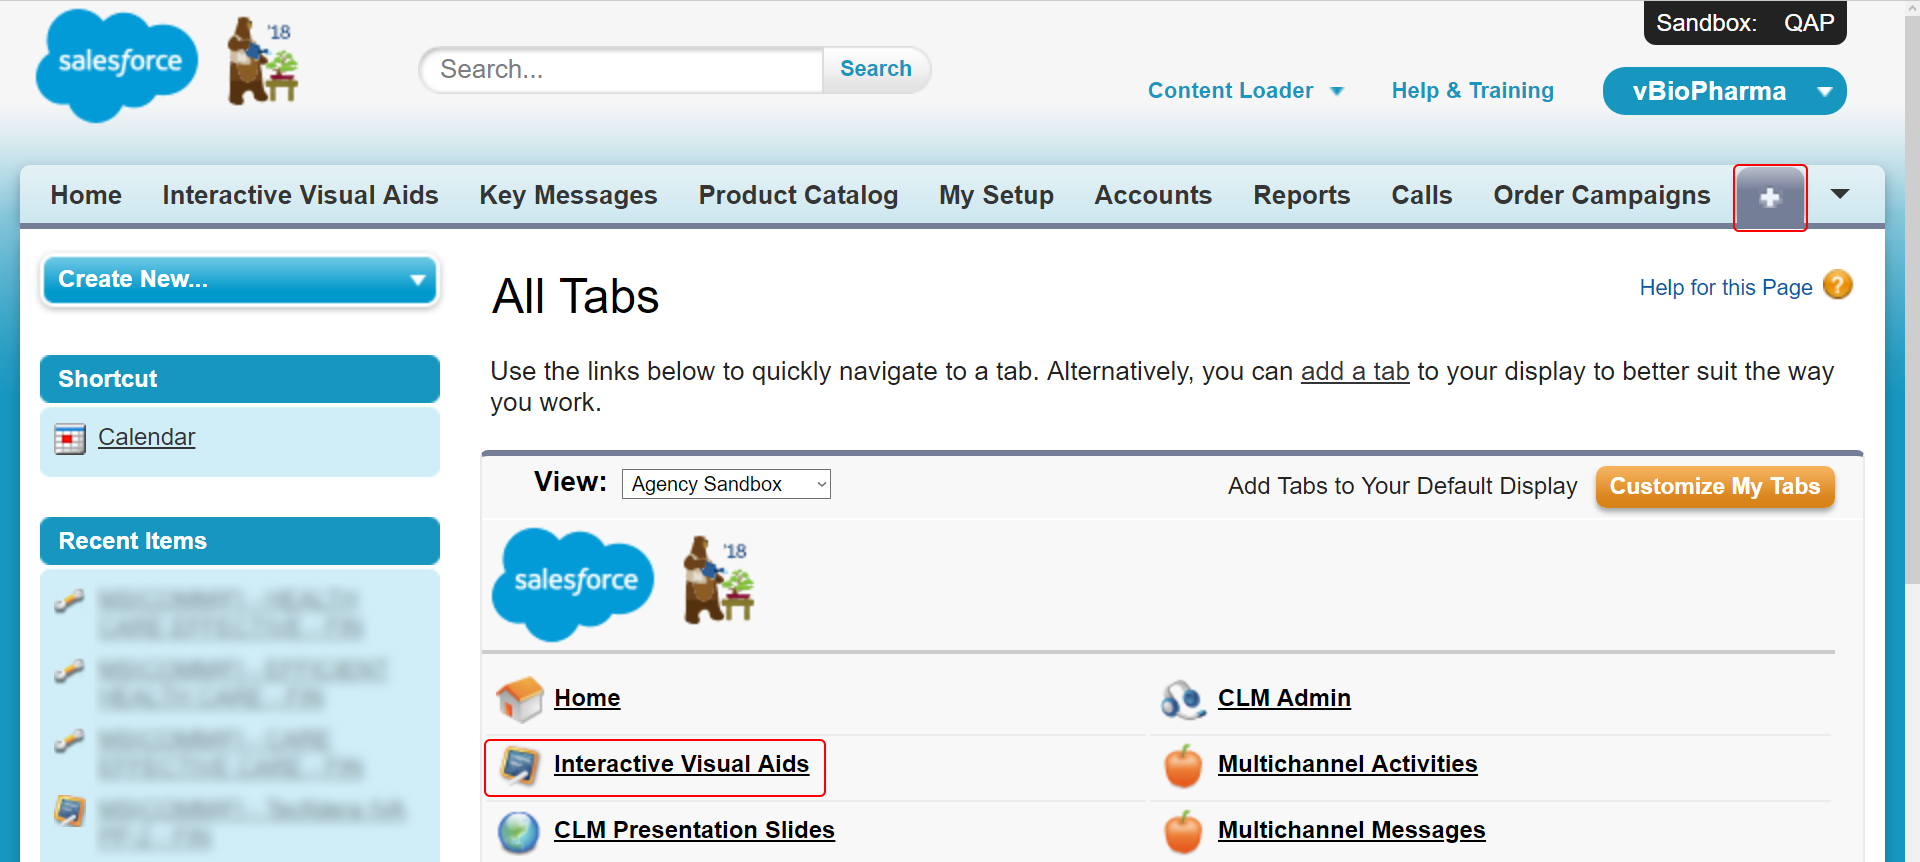
Choose the Interactive Visual Aids tab in the upper menu:

In case the section is not displayed, use All tabs to open all the options. Choose Interactive Visual Aids from the list:
The list of all the presentations will be opened. Choose the target one:
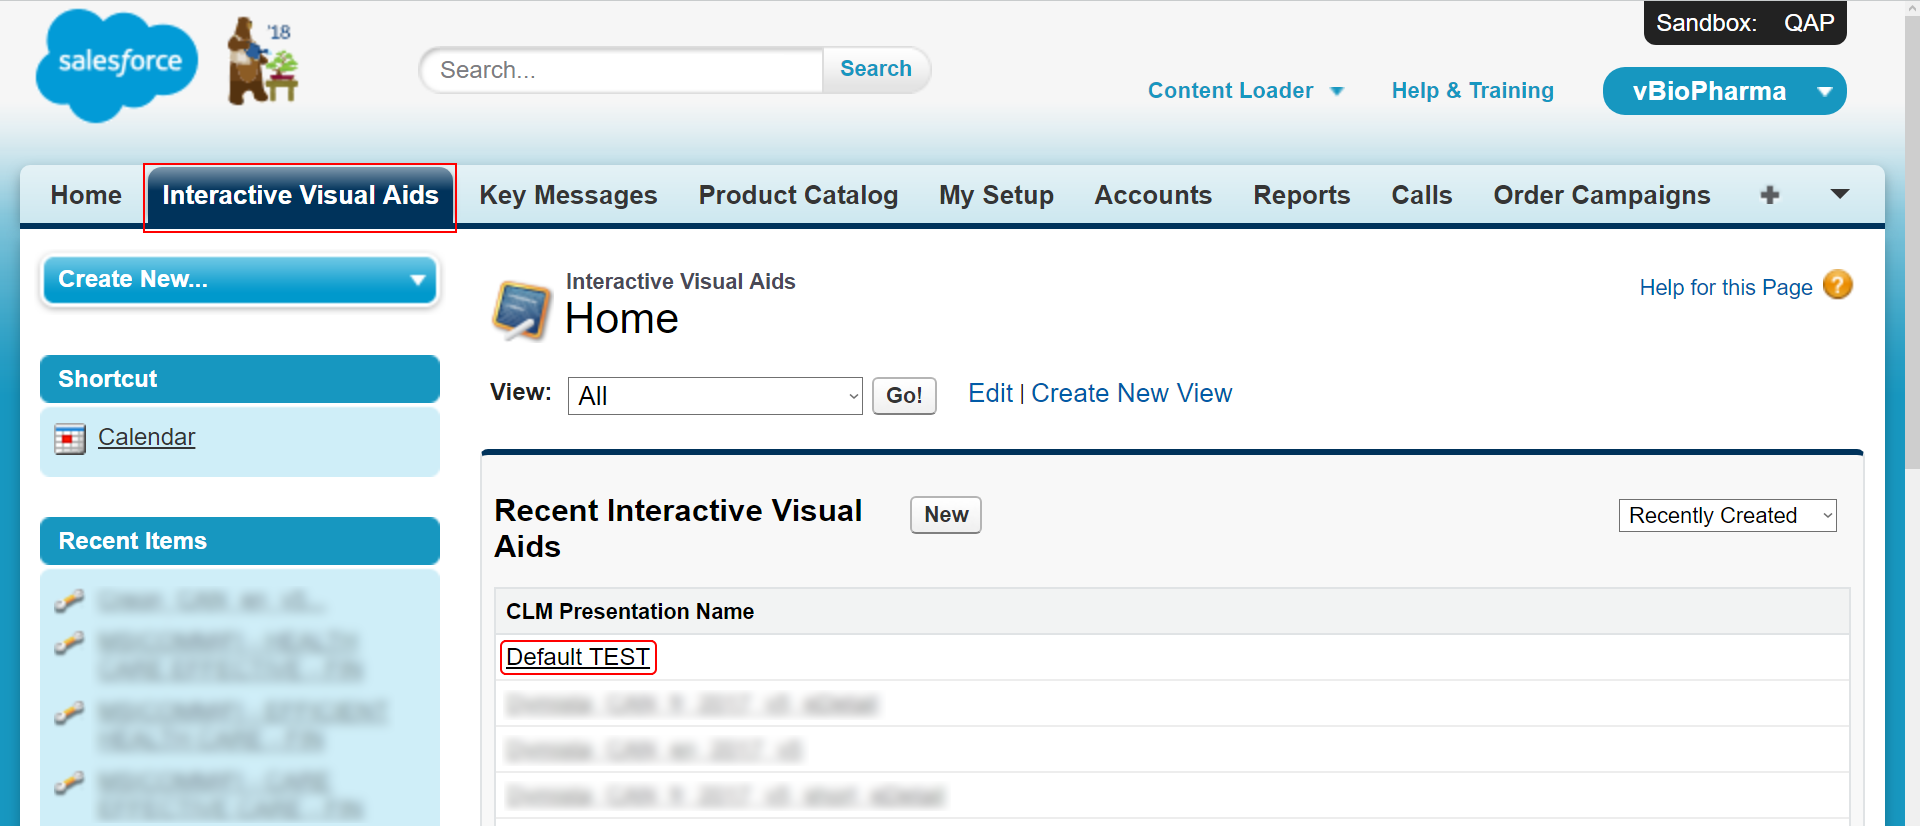
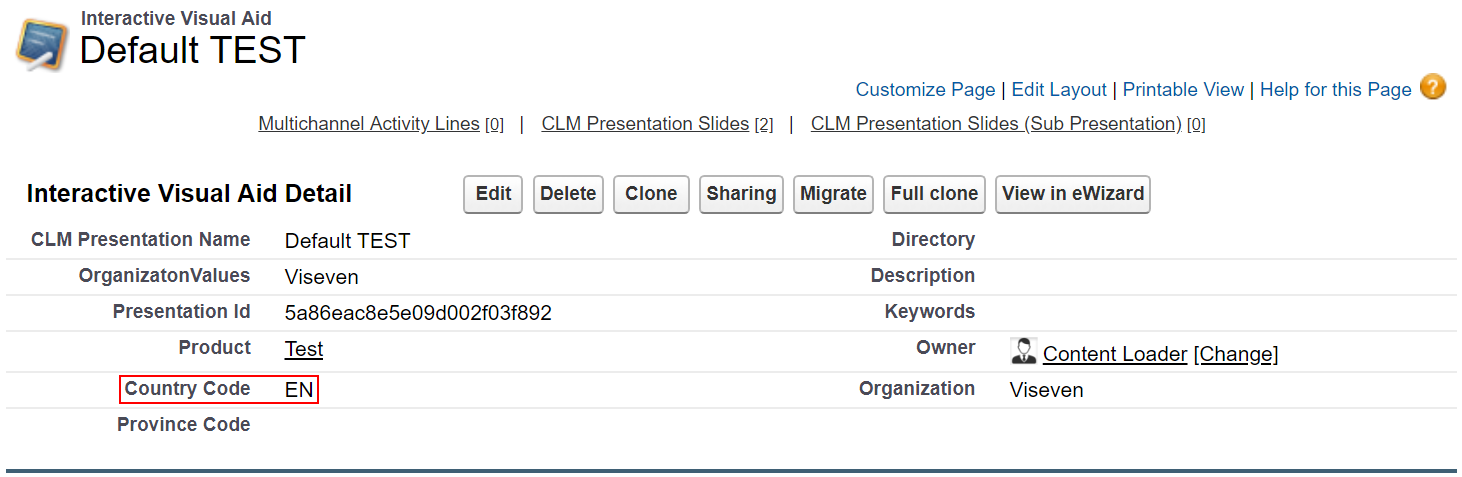
The CLM Presentation Name is Name defined during the presentation publishing from eWizard, the same name will be used in iRep:
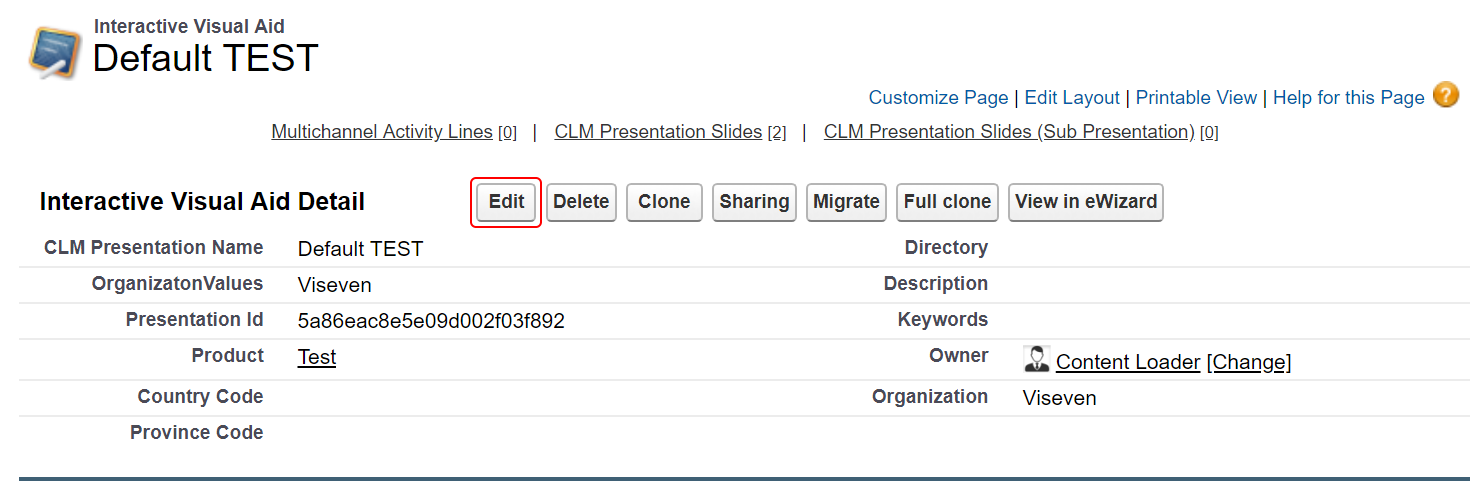
To open the detailed presentation page, choose the name from the CLM Presentation Name list. Click Edit to make changes:
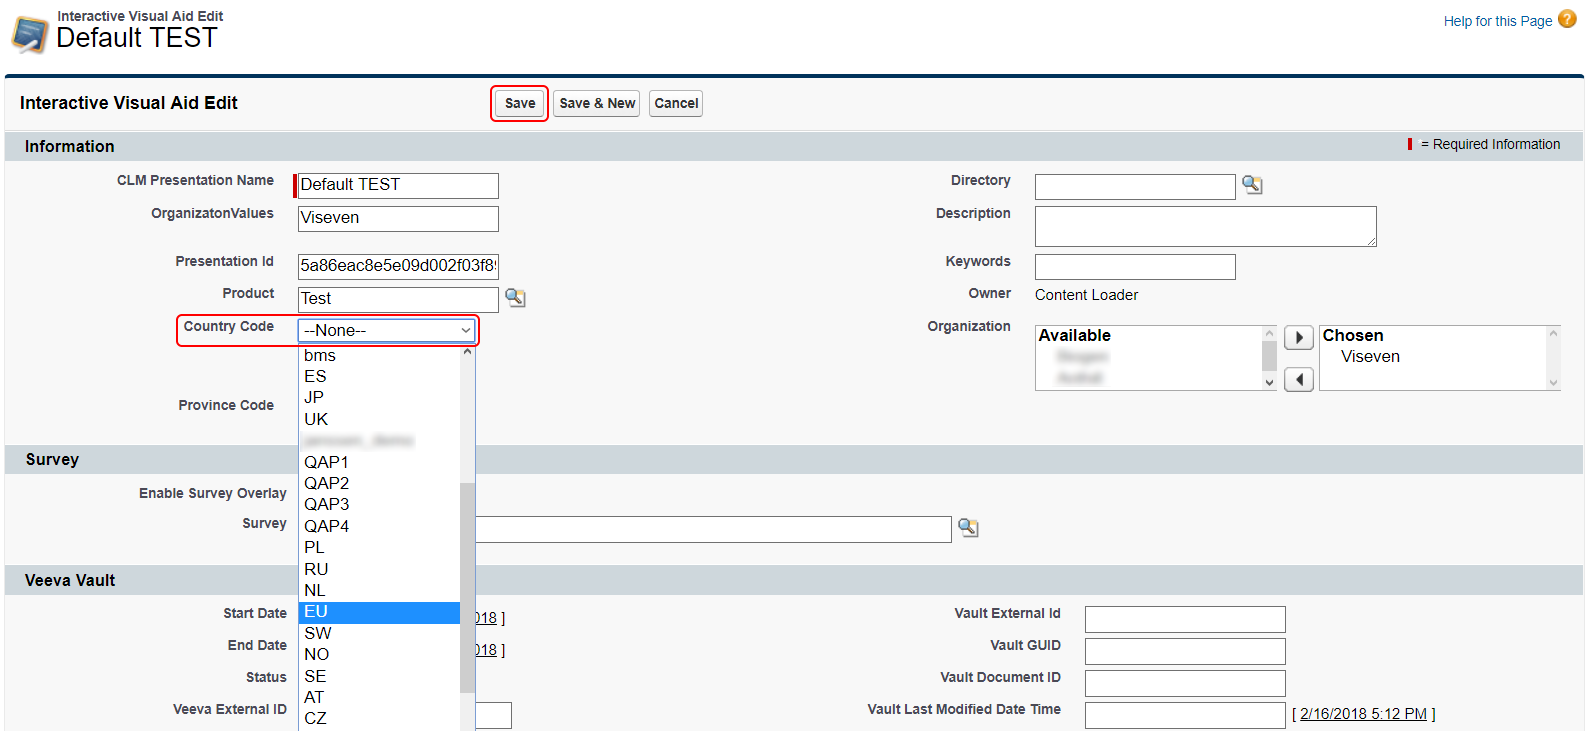
Choose the required Country Code from the dropdown list and click Save to apply changes:
All changes will be saved and displayed in the Interactive Visual Aid details page: